HDR is a great way to blend exposures to get a resulting image with a high degree of contrast and dynamic range. In Adobe Lightroom, all it takes is 4 easy steps to get a wonderful HDR image.
What is HDR on Cameras?
High dynamic range (HDR) is a photographic technique used to create images with a greater degree of dynamic range of luminosity (light) and color than normally possible. It is achieved by taking multiple exposures of the same image and combining the desirable parts of each into a single image.
Why use HDR?
The main benefit to using HDR in photography is recovering detail from overly bright or dark areas of high contrast scenes. For example, a photo of a landscape on a sunny day normally forces you to overexpose the sky or underexpose the ground because of the difference in brightness. Using HDR, you get both the sky and ground properly exposed.
Shoot in RAW
Before you even start taking photos for your HDR image, make sure you’re shooting in RAW. This should be how you always shoot, as all the image data is saved with the image. This makes better HDR images and allows greater freedom when editing your final image.
1. Import Photos into Lightroom
Start by importing your images into Lightroom. To do this, select File > Import Photos and Video… Then choose your exposure bracketed images you intend to make an HDR photo from.
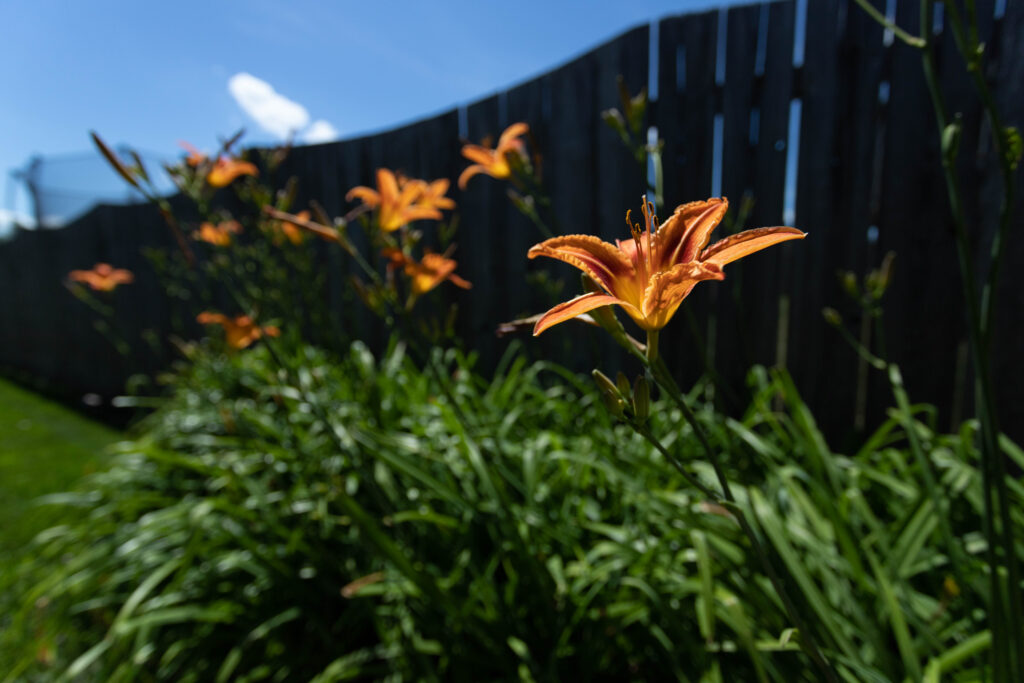
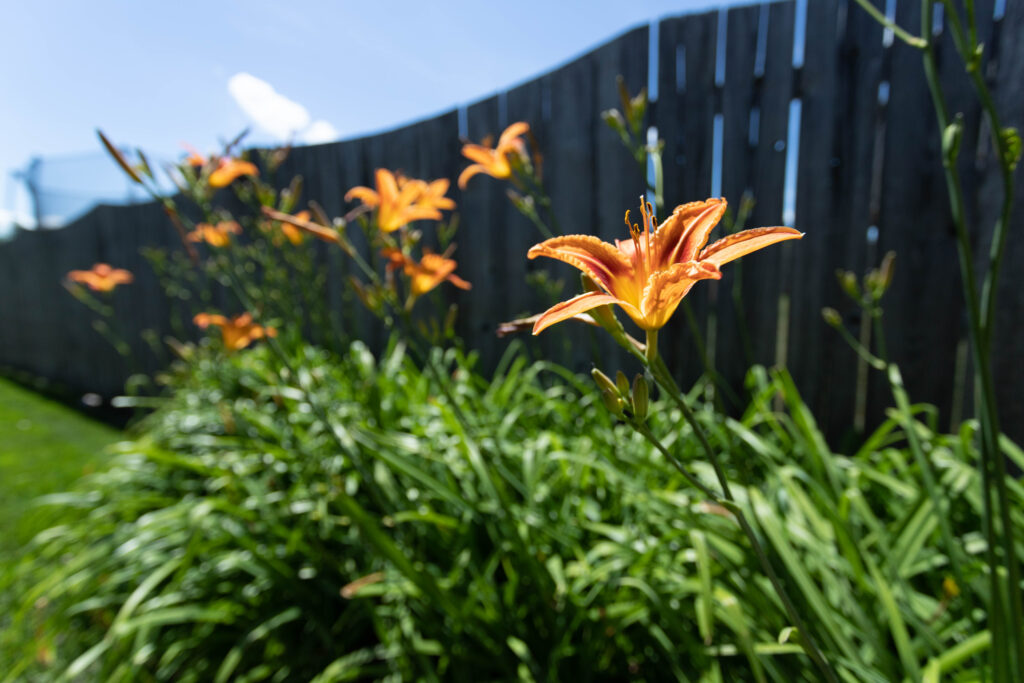
These are the three RAW exposure bracketed images I imported from my camera.
2. Select Your Images to Merge
Next, select all the images you wish to use to create your HDR photo merge. To do this, ctrl(windows)/cmd(mac) + click the images you intend to use.

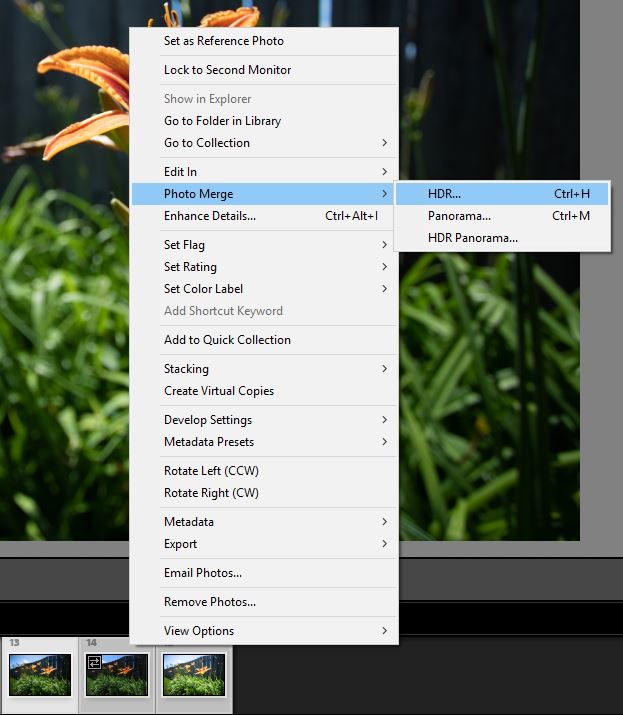
3. Select Photo Merge
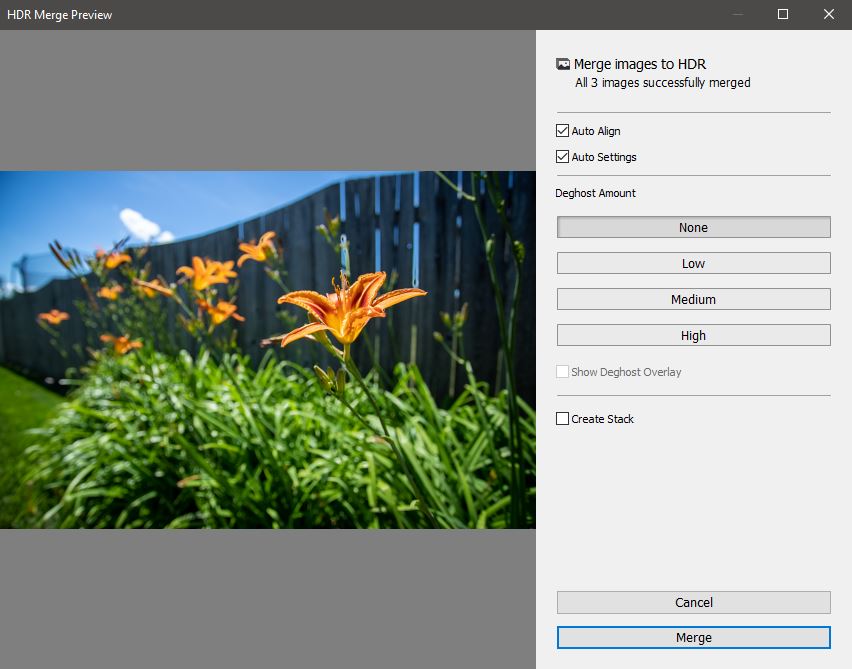
Next, right click on any of the selected photos and select Photo Merge > HDR… To do this faster, use the keyboard shortcut Ctrl+H. This also brings up the HDR Photo Merge Preview window.
4. Press the Merge Button
Finally, press the merge button on the HDR Merge Preview screen that pops up. You may choose to deselect Auto Align and Auto Settings. I wouldn’t recommend deselecting Auto Align as this may result in an unaligned final image. Auto Settings can be deselected as you have the freedom to change settings yourself after the HDR image is created.
You may also select the amount of deghosting you wish to have. This is helpful for images with something like an open flame. Any moving objects will create ghosting. If that is the case in your image, add deghosting. Adding deghosting removes areas where movement in the image has occurred and replaces them with the base exposure. Selecting “Show Deghost Overlay” highlights the areas where Lightroom thinks ghosting has occurred. These highlighted areas are where the base exposure will be placed.
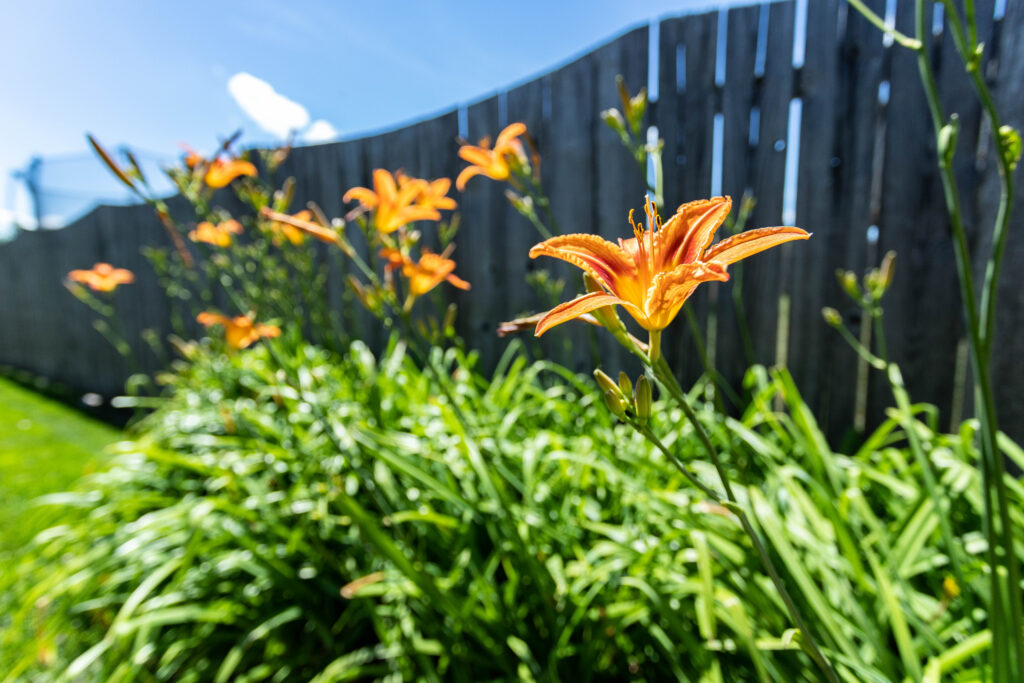
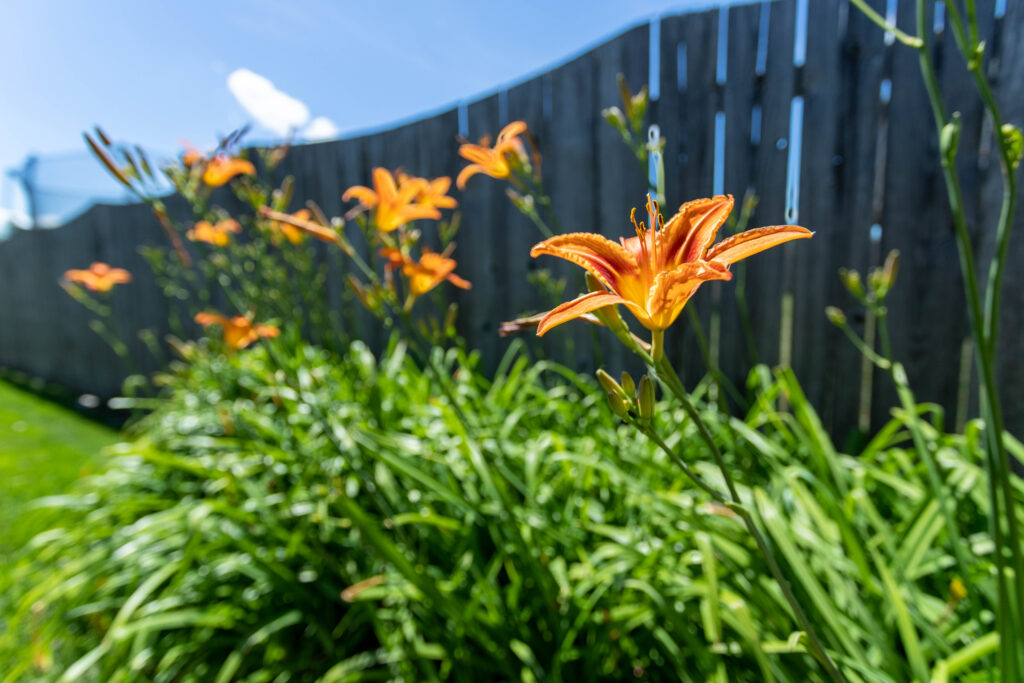
Final Image
You now have an HDR photo merge created using Adobe Lightroom. If you wish to edit the image further, simply use the sliders on the right-hand side of the screen (Beginner Photo Editing Guide). The HDR image is a DNG file (Lightroom’s raw file format), so all image metadata is still available for maximum editing power.
FAQ
Why do my HDR Images Look Bad?
A common cause of poor looking HDR images is not properly aligning your photos. This can happen because you moved too much between each bracketed image for auto-align to work or because something within your image moved between exposures.
Why is my HDR Image Too Dark?
The cause of HDR images being darker than desired is improperly setting your base exposure. When shooting bracketed images, make sure to nail the base exposure before getting your overexposed and underexposed images.
Do HDR Photos Use More Memory?
HDR photos taken using in-camera processing do not use more memory on your SD card. Taking exposure bracketed photos for HDR photo merge in Lightroom takes more memory on your SD card because you must take multiple photos.
Can You Use HDR For Portraits?
Using HDR is a great way to improve portraits where there is a large difference in light-level between the subject and the background to get an evenly exposed image. It’s important to keep both your camera and the subject still when taking multiple exposures for HDR images so ghosting doesn’t occur.
How Many Exposure Bracketed Photos Should I Use?
The number of photos required for optimal HDR depends on the exposure range (measured in stops) you intend to merge. It’s important to use the correct number of photos. Using too many slows the HDR processing and can cause ghosting issues. Using too few can result in not providing enough luminosity range for the HDR to be successful.
Conclusion
Creating great HDR images in Lightroom is easy and fast. Just remember to use the correct number of bracketed images and always shoot in RAW and edit your photos. I hope this article helped. Thanks for reading!