Exposure is how much light there is in your image. Exposure is determined by three settings: aperture, shutter speed, and ISO. Properly exposing your images will get you more detail and stronger color. You need to understand how these elements work together to consistently take good pictures on purpose.
For a visual representation of how the three exposure settings work, see the exposure triangle below.
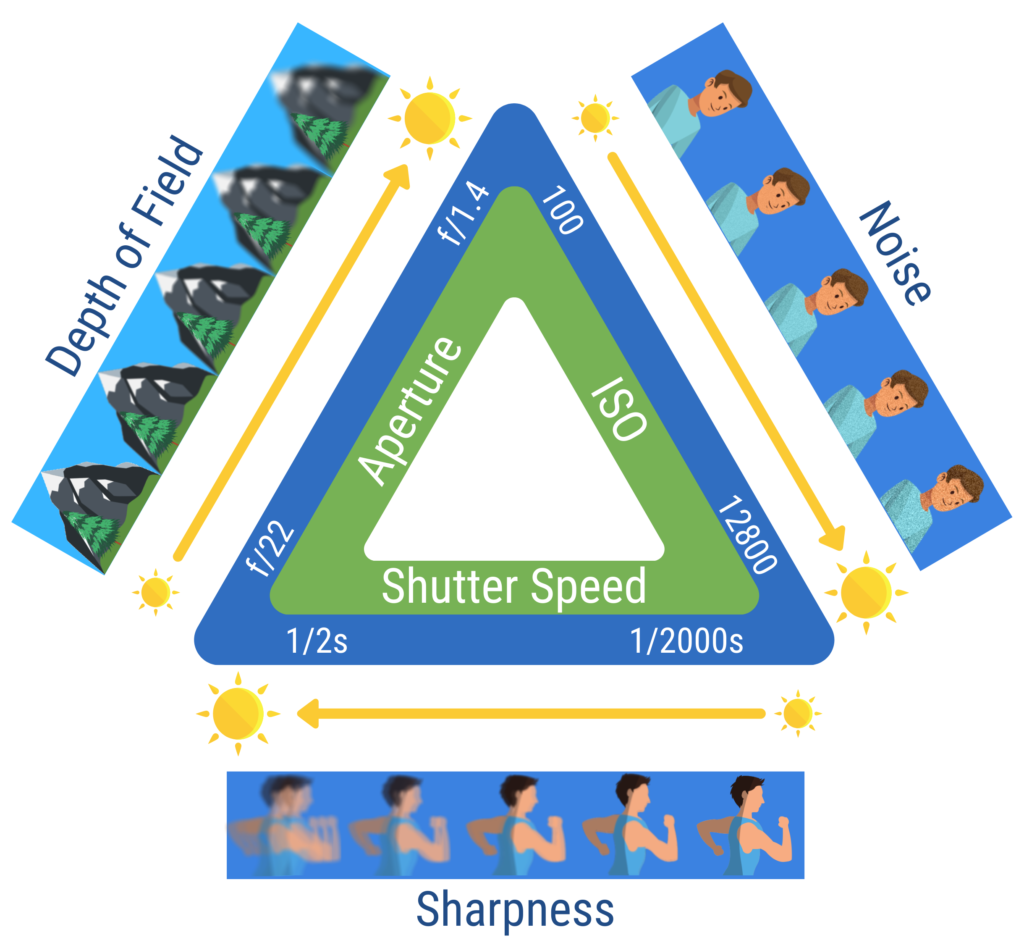
Next, we’ll go over a quick written refresher of Aperture, Shutter Speed, and ISO.
Aperture
Aperture refers to a hole inside a camera lens that opens and closes letting in more or less light. Aperture controls two things: Depth of field and exposure.
A higher aperture such as f/16 lets in less light and has a wide depth of field (everything in focus).
A lower aperture such as f/1.4 lets in more light and has a shallow depth of field (very little in focus).
Shutter Speed
A shutter is an object that sits in front of the camera sensor and allows light to reach the sensor for a predetermined amount of time. That predetermined amount of time is called shutter speed. Shutter speed affects two things: Motion blur and exposure.
A faster shutter speed such as 1/1000s lets in less light and has almost no motion blur.
A slower shutter speed such as 1/2s lets in more light and has lots of motion blur.
ISO
ISO is not really a part of exposure, because it does not affect how much light reaches the sensor (the definition of exposure). It kind of is though, because it affects how bright or dark the final image looks.
What is ISO? In modern digital cameras, ISO is the amount of amplification that is applied to the light entering the sensor. ISO affects two things: Noise and exposure.
A low ISO such as 200 results in a darker image and almost no noise.
A high ISO such as 12800 results in a brighter image and lots of noise.
How to See Exposure In-Camera
You understand the settings, but how do you know what the exposure will look like before you take the photo?
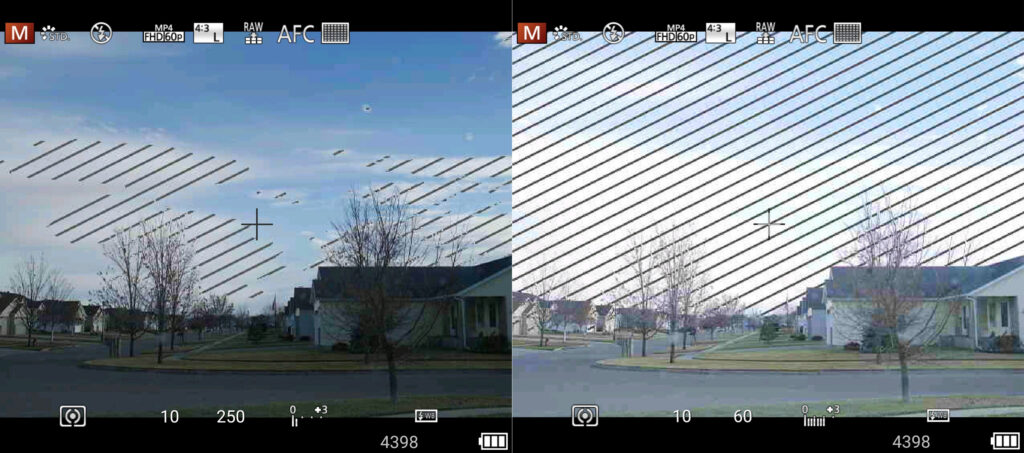
Modern digital cameras give you the option to view the exposure your camera thinks your photo will have based on your chosen settings. This is shown on the back-LCD monitor. You can see this by turning on the “live exposure view” setting. For Canon DSLR cameras, this is turned on by pressing the “live view” button on the back of the camera. Check your manual to see how to turn live view on for your camera.
The “Zebra Pattern” setting is a great addition to live view. With this turned on, overexposed areas will be covered with moving black and white stripes on the back-LCD screen. Not all cameras have this setting and they may be called different things based on your brand of camera.
Histogram
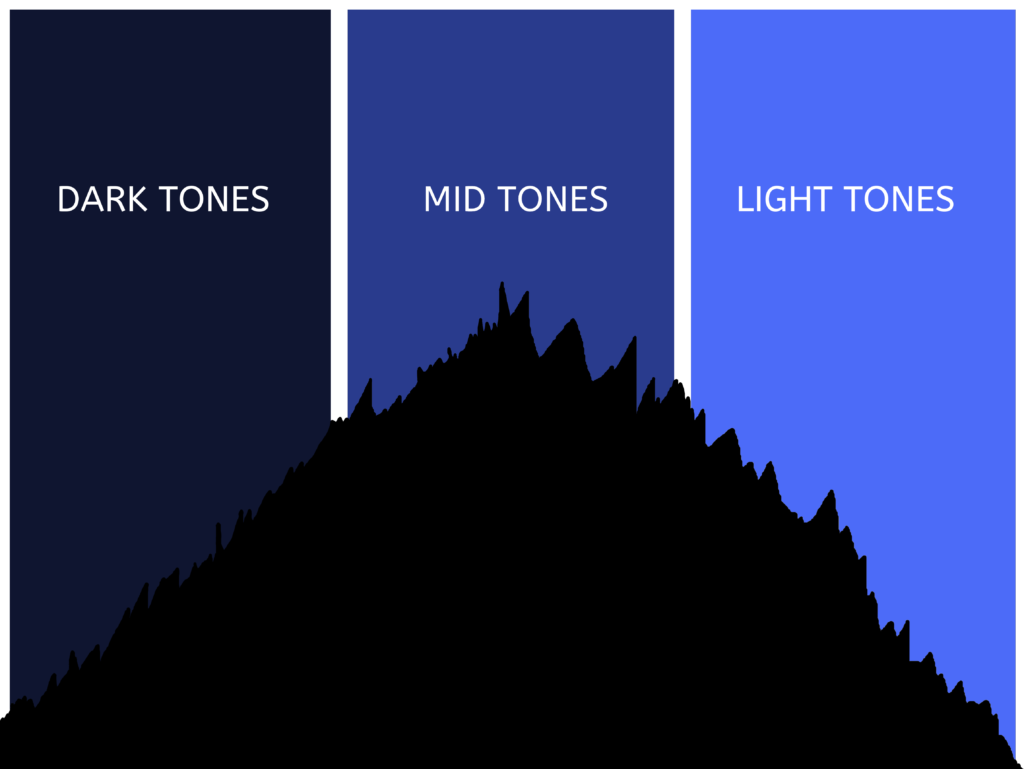
Another way you can check exposure before taking a photo is the histogram. Once turned on in your camera’s settings, you can see the histogram on your back-LCD screen. It’s only visible when in live view mode. The histogram gives you detailed information about how your image is exposed.
Histograms tells you how many pixels in your image have a certain brightness or tone. A tonally balanced image will have a shape like the one below with lots of mid tones, some light, and some dark tones. If the shape of the histogram is skewed to the left, the image is composed of lots of dark tones and is likely underexposed. If the shape is skewed to the right, there are lots of light tones and the image is likely overexposed.
The histogram is more accurate than live exposure view for the exposure of the whole image, but live exposure view may be helpful for making sure a specific part of the image is exposed correctly. Use the histogram to check the exposure and balance of your image together with the live exposure view for the best exposure results.
How to Expose an Image
You now know what all the settings do and how different exposure modes work, but you may be asking yourself “How do I actually properly expose an image?”. A valid question. There’s a difference between knowing what every setting is and knowing what to do with them. To answer that question, I’ll go into some exposure guidelines for popular types of photography.
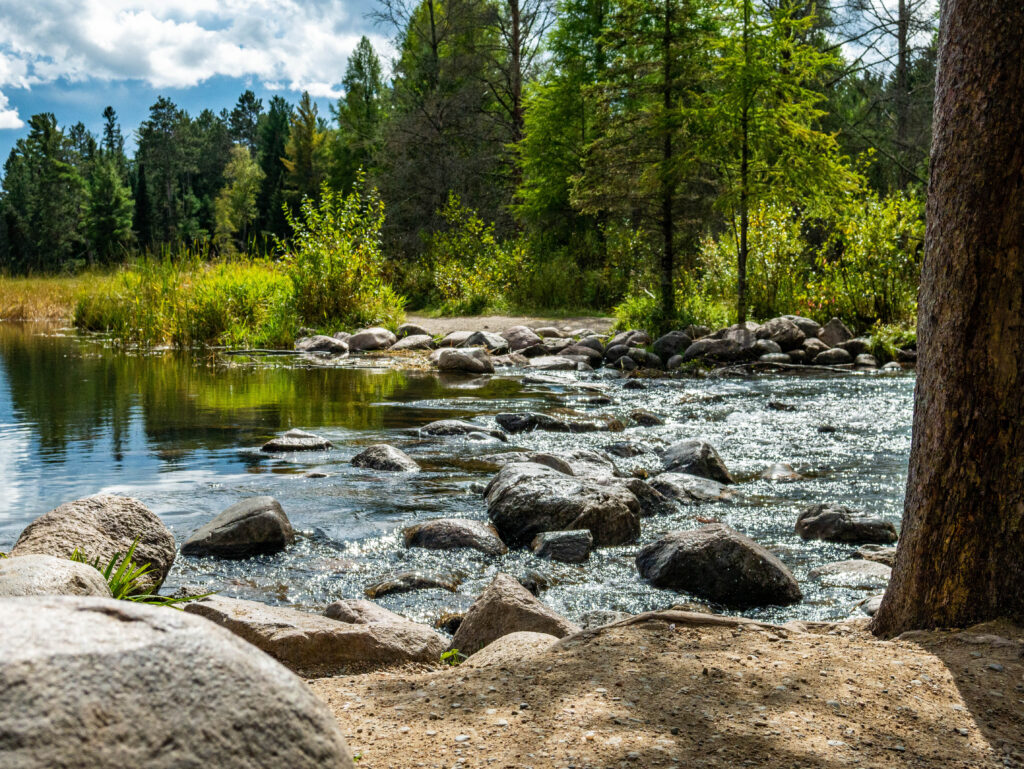
Landscape Photography Exposure
- Aperture: f/8 or greater for full frame cameras (APS-C: f/5.3 MFT: f/4). This is so the whole image is in focus. A higher aperture number may be necessary if there is foreground close to the camera.
- Shutter Speed: Whatever is needed to get correct exposure (A tripod may be necessary to achieve a sharp photo). See article on photo sharpness.
- ISO: As low as possible. Ideally the base value (usually 50, 100, or 200).
- Tip #1: Expose for the brightest part of the image to get the most possible detail. It is easier to bring back detail from shadows than highlights. If exposing for the brightest part leaves too much in shadow, try exposure blending in photo editing software.
- Tip #2: While mid-day landscape photos can be great, landscapes shot at golden hour are stunning. Try shooting at different times of day to see what you like.
Portrait Photography Exposure
- Aperture: f/4 or below (APS-C: f/2.6 Micro Four Thirds (MFT): f/2) or as low as your lens allows. This is to get a shallow depth of field, which looks great for portraits.
- Shutter Speed: Whatever allows for the correct exposure while being fast enough to combat camera and subject blur.
- ISO: As low as possible. Ideally the base value. This may need to be higher than for landscapes due to the constraints on shutter speed.
- Tip #1: The focus point of the image should be the eye of the subject. If you can see individual eye lashes in the final image, you have done this correctly.
- Tip #2: Use a higher focal length lens (~80mm and up full frame) and get close to your subject.

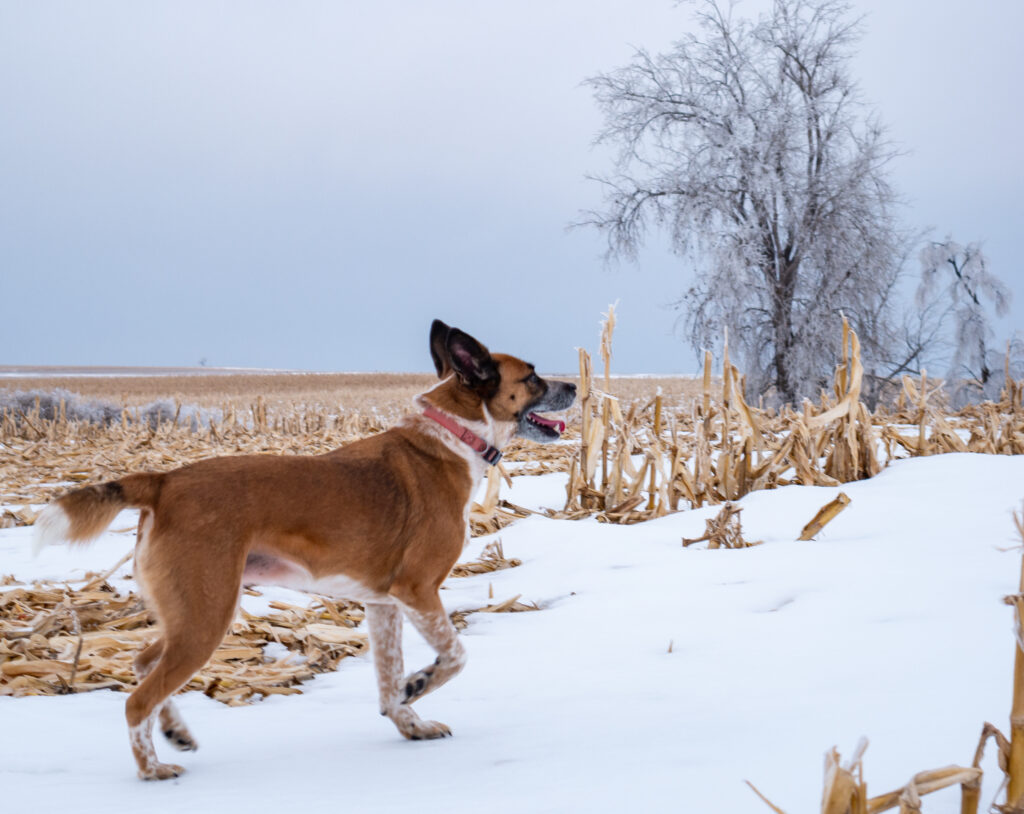
Nature and Sports Photography Exposure
- Aperture: Depends what you want. If the goal is to separate the subject from the background, go with a small aperture number. If the goal is to have everything in focus, go with a large number.
- Shutter Speed: This needs to be fast to keep the subject sharp. There is no number that works all the time. It depends on speed of the subject and focal length. Remember the rule from earlier. Have shutter speed be at least 1 divided by 2x the focal length of your lens. So, if you were shooting at 100mm, your shutter speed should be at least 1/200 of a second. This needs to be faster for a moving subject.
- ISO: This might have to be higher with the faster shutter speeds required but try to keep it as low as possible.
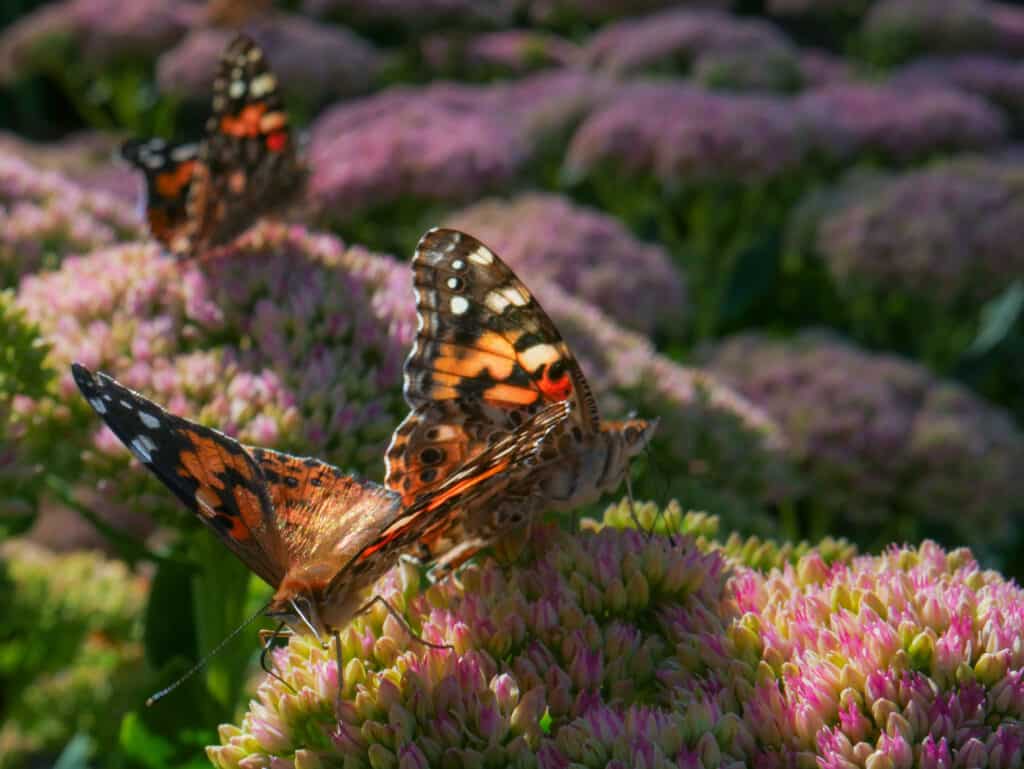
Macrophotography Exposure
- Aperture: When doing macrophotography, your camera will be very close to the subject. This makes for shallower depth of field. Because of this, higher apertures are needed than other forms of photography to keep your subject in focus. Try apertures between f/2.8 and f/11 for low magnification macrophotography and apertures no lower than f/8 for high magnification (full frame sensors).
- Shutter Speed: This needs to be fast to keep the subject sharp. There is no number that works all the time. It depends on how fast your subject is moving and how zoomed in you are. For lower magnification, shutter speed can be lower. For higher magnification, shutter speed will need to be quite fast.
- ISO: This might have to be higher with the faster shutter speeds and higher apertures required but try to keep it as low as possible.
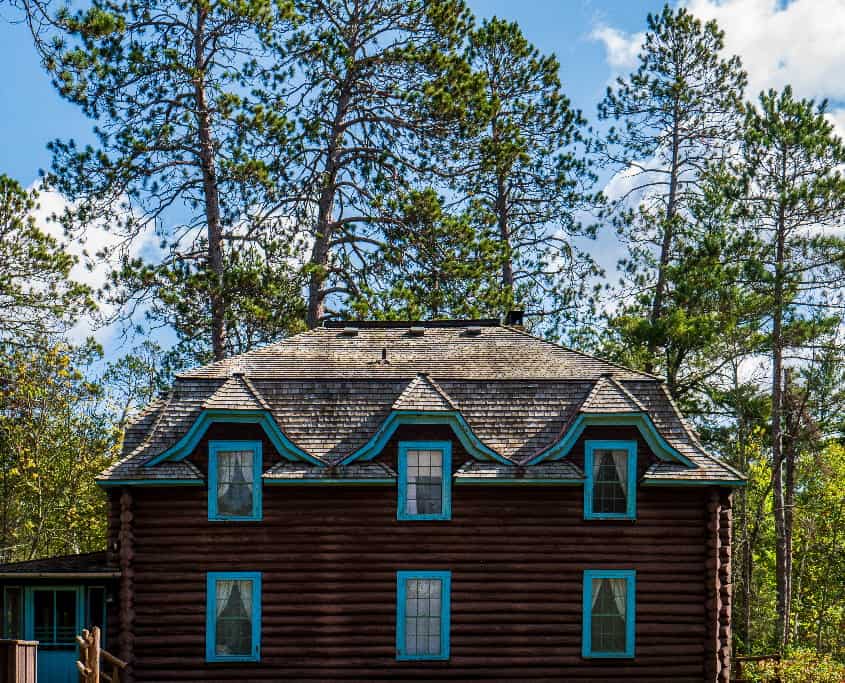
Architectural Photography Exposure
- Aperture: With architectural photography, you want everything in focus. This means a high aperture number. Try not to go lower than f/8 for full frame cameras (APS-C: f/5.3 MFT: f/4).
- Shutter Speed: Like landscape photography, use whatever setting is needed to get correct exposure. This type of photography should be done with a tripod, so you won’t need to worry about sharpness.
- ISO: As low as possible. Ideally the base value. You want as little noise as you can get.
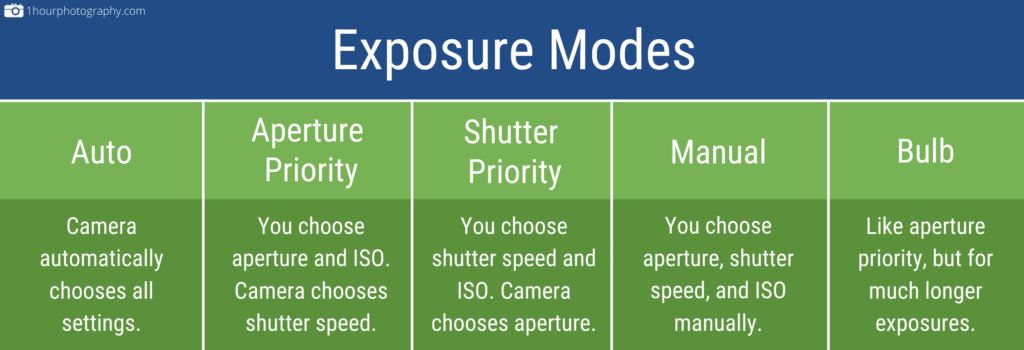
Exposure Modes
Cameras have a few different ways that these exposure settings can be chosen. These ways are called exposure modes. Exposure modes are made to make certain types of photography easier by automatically setting some, or all exposure settings.

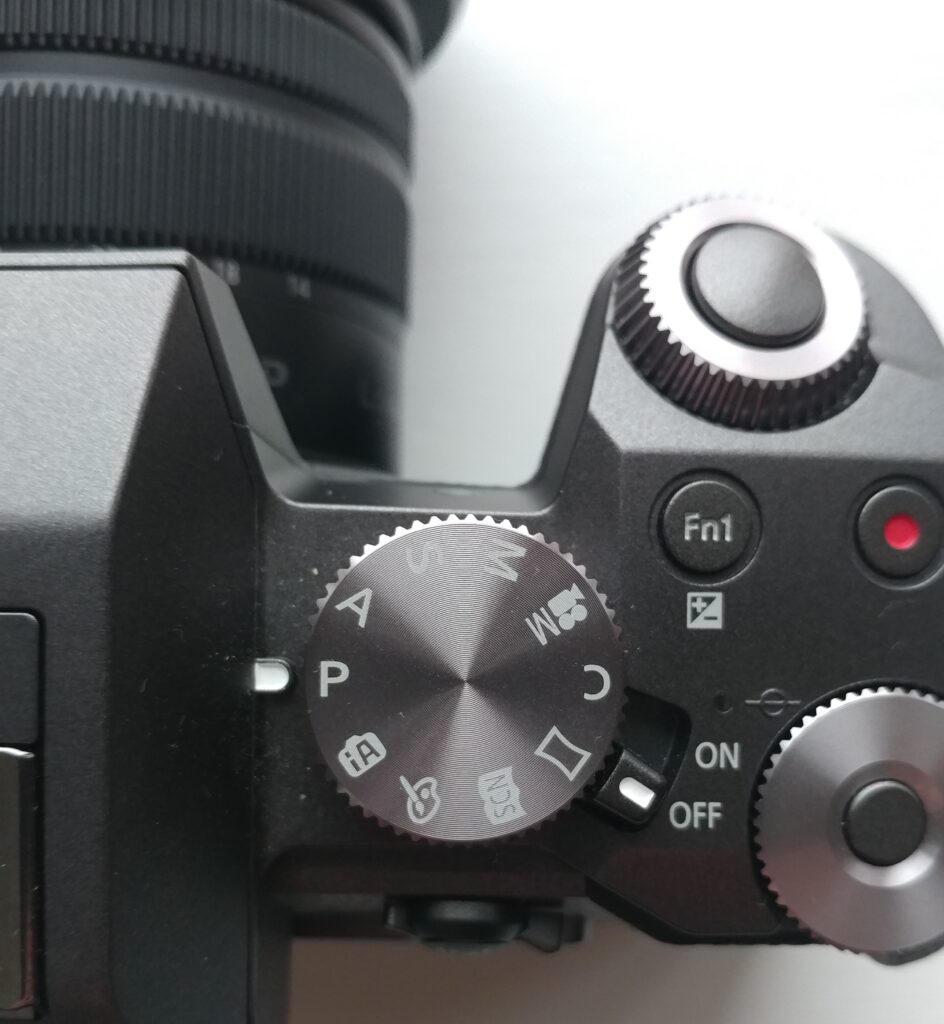
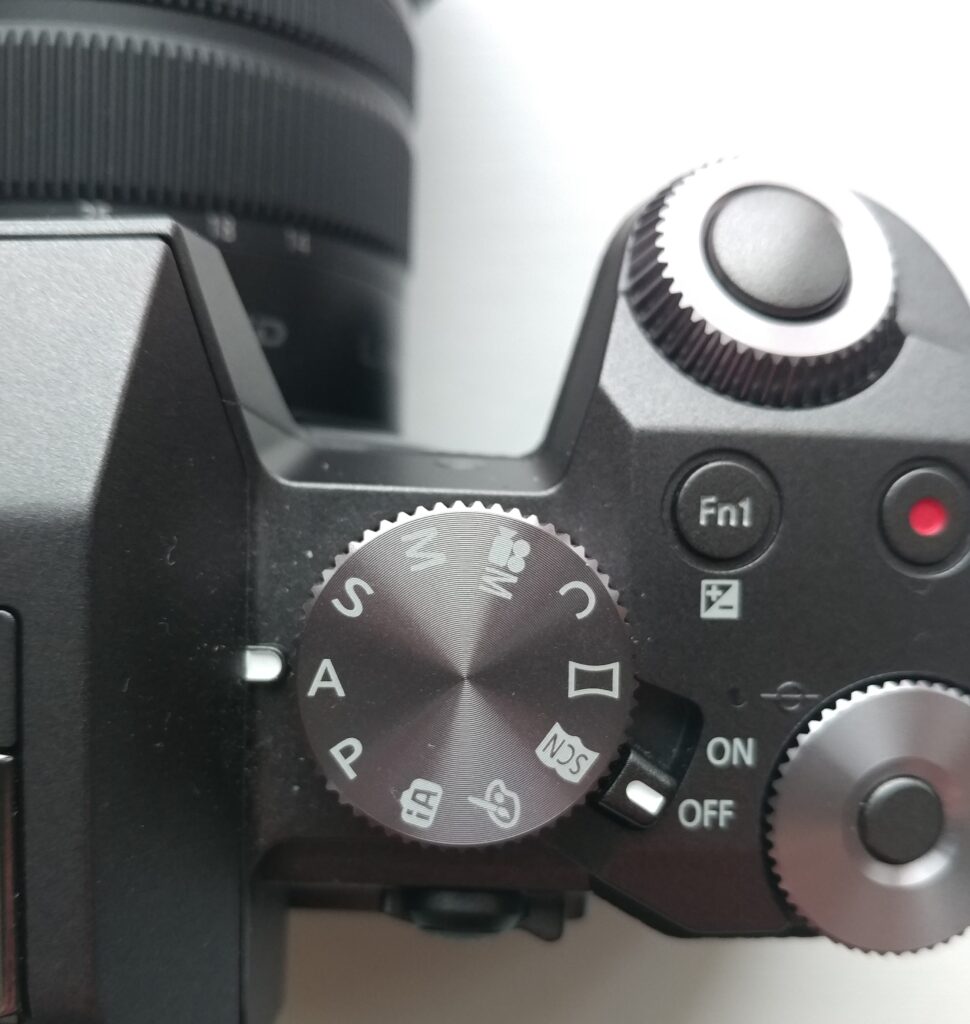
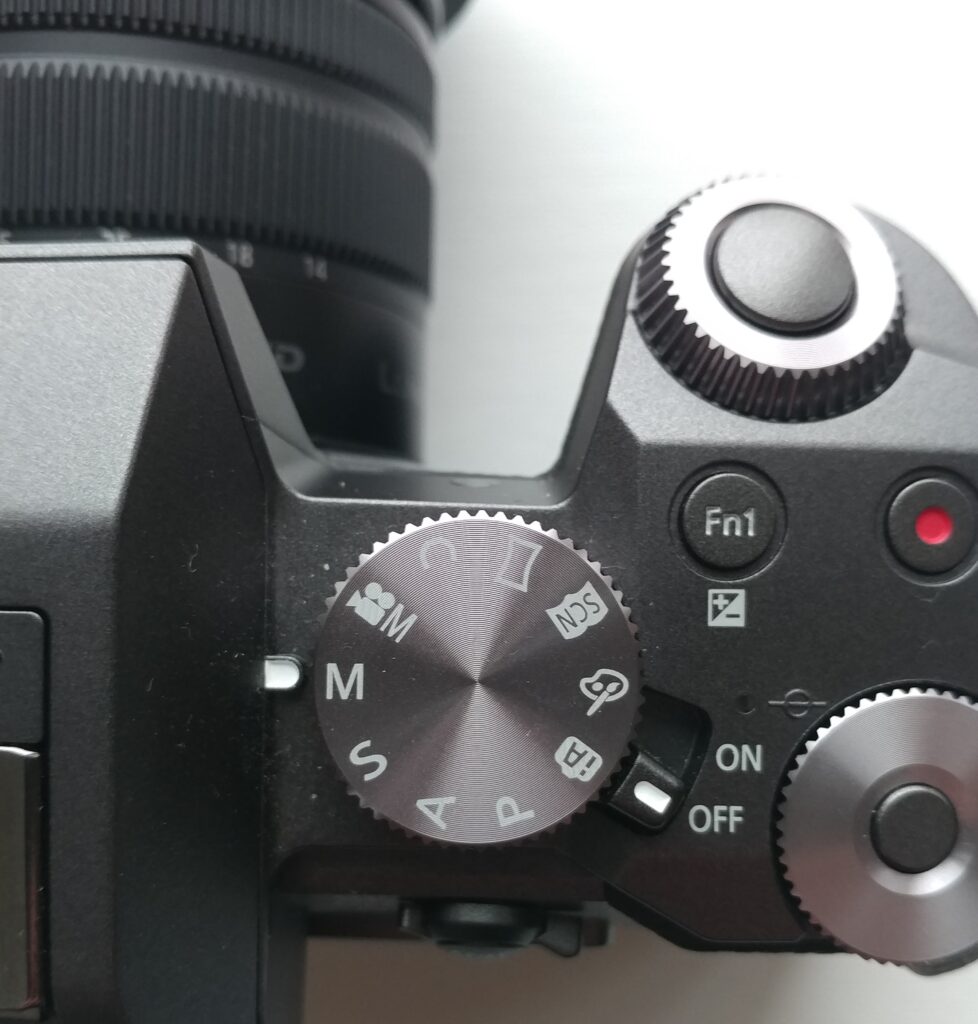
The ones you need to know are: Auto, Aperture Priority, Shutter Priority, Manual, and Bulb. The letter or symbol for each given mode is different based on the brand of camera. Check your manual to see what it is for your camera. The graphic below shows the basics of each mode.
Let’s go a little deeper on these modes. When the camera chooses a setting itself, it does it through metering. Metering is basically a sensor inside the camera that decides what the correct exposure is based on what it sees. The sensor can be confused and is not always right.
Auto Exposure
In my opinion, this should only be used if you don’t know a picture is coming and have no time to set the settings yourself. You give up creative freedom with depth of field and don’t get to use exposure creatively. You also have no control over noise.
Aperture Priority
This setting is great if you want control over depth of field and noise, but don’t want to deal with finding the correct brightness. The downside is metering isn’t perfect and leaves no room for creativity or personal preference. This mode may also choose a shutter speed that is too long for being handheld resulting in a blurry image.
Shutter Priority
If you need control over shutter speed and don’t care about depth of field or noise, this is the mode for you. This mode is useful if photographing a moving subject where you need control over shutter speed to get a sharp image, but there isn’t time to change other settings. This scenario should be rare.
Manual Exposure
You should almost always be on manual mode. This mode gives you control over all three aspects of exposure, giving you the most control over your final product. As you become better acquainted with aperture, shutter speed, and ISO, controlling all three settings not only feels easy, but necessary to get exactly what you want from a photo.
Bulb Exposure
This mode should be used when you want a shutter speed longer than what your camera normally allows (usually 30s). Bulb is like manual in that you choose all three settings, but shutter speed is determined either by a second press of the shutter button, or a remote shutter switch.
That’s all! Thanks for reading the article! I really hope it helped.