Blurry images got you down? You want to take pin sharp images, but you can’t seem to do it? Here are some tips to get consistently crisp shots.
A sharp and detailed image.
Stay Steady
Movement is the death of sharpness. Keeping your camera steady is paramount. Try using a monopod or tripod. If you’re using a longer shutter speed, steadiness is more important, and a tripod may be necessary. With a long shutter speed, even on a tripod, photos may still turn out muddy. Why? Pressing the shutter button to take the photo can vibrate the camera. A great way to stop this is to set a photo delay or use an external shutter button or camera control app.
If you need to hand hold your camera, here are some tips to stay steady.
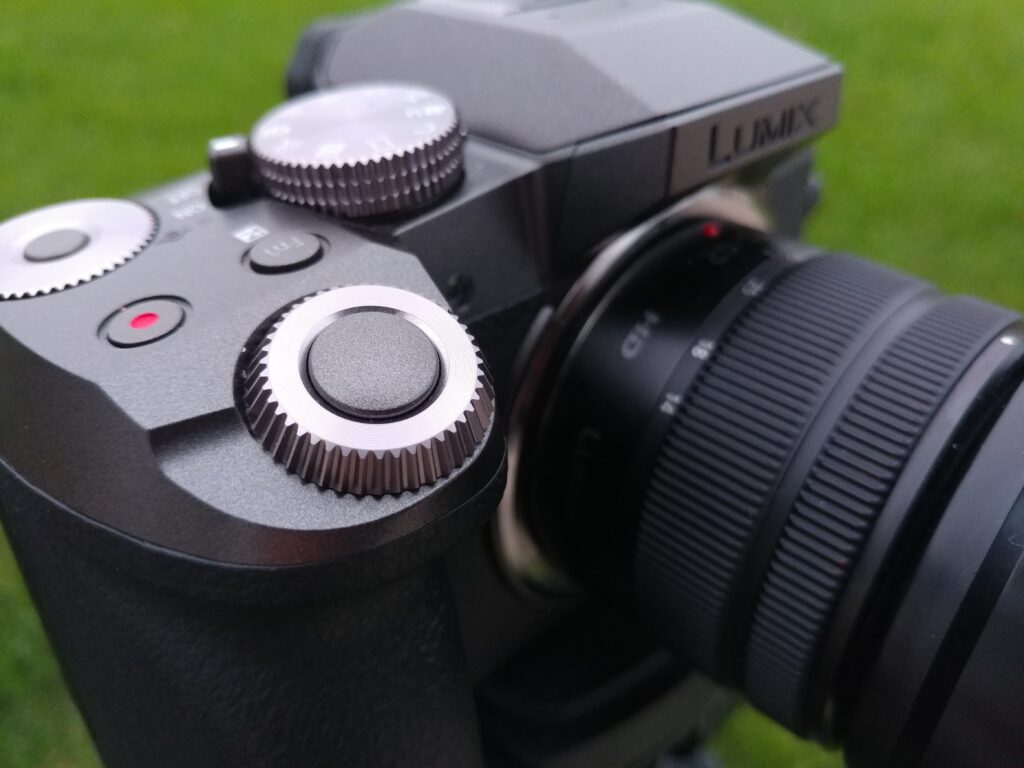
Shutter Button
Press your shutter button with as little pressure as possible. Try rolling your finger over the button to take photos instead of pressing it directly. Doing this well can mitigate or eliminate camera shake, leading to sharper photos. It can be difficult, but with some practice you’ll be able to smoothly press your shutter button.
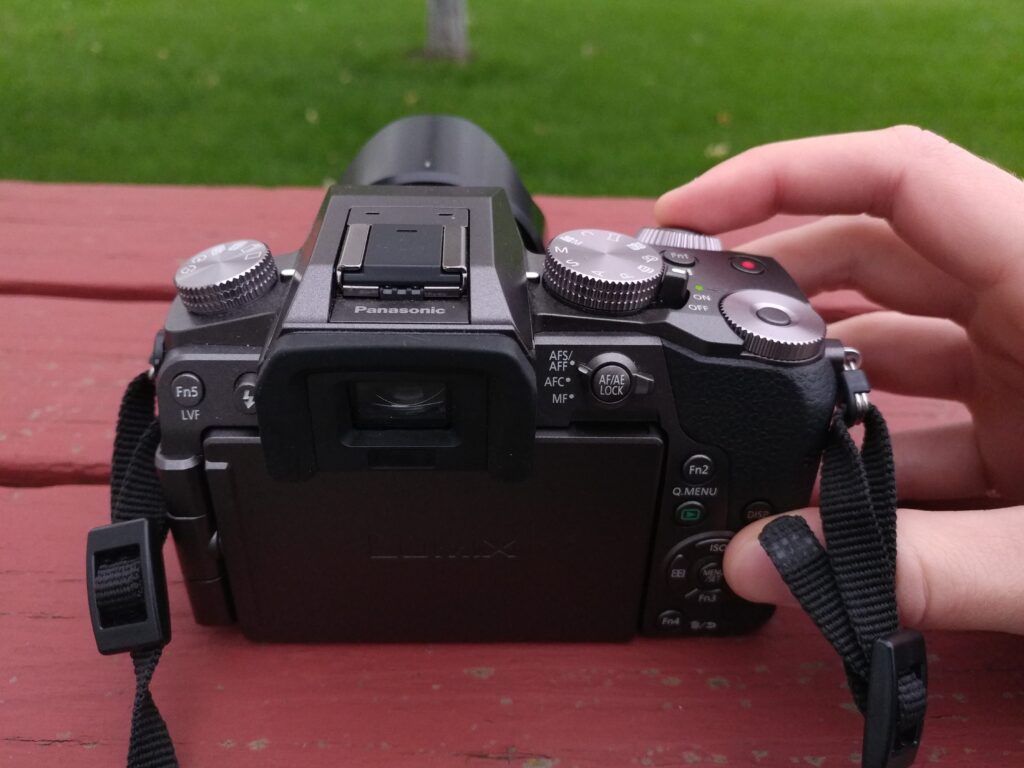
Bracing and Camera Grip
Have a firm, but not tense grip on the camera. Use both hands and keep your arms close to your body. When using a large lens, have one hand on the body of the camera and the other placed underneath the lens.
A good rule is to have three points of contact, meaning the camera should be braced in three directions. Your hands can count for two. You can get the third by laying down, using a wall, getting down on one knee, or using the camera strap by pulling it tight against the back of your neck. You can also hold the camera to your face or chest as a third point of contact.

The subject in the image is using three points of contact with the proper grip. 1) Left hand on lens. 2) Right hand on camera grip. 3) Viewfinder pressed into face.
Set It Down
Put your camera on the ground, on a table, or anything that’s hard enough to keep it from moving. This isn’t exactly handheld, but it doesn’t require a tripod, a monopod, or any other gear. If the shutter button is pressed carefully, this method should eliminate camera shake, even for longer exposures.
Reducing camera shake by setting the camera down.
Movement and Shutter Speed
You know you’re steady, but your image still isn’t sharp. Is your subject moving? If so, steadiness is not the problem. You need to increase your shutter speed. Shutter speed is how fast your camera takes the picture. The faster your subject is moving, the faster your shutter speed needs to be. A good rule of thumb is to have your shutter speed be twice the focal length you’re shooting at. So, taking a picture at 100mm, your shutter speed should be 1/200th of a second or faster. I talk more about the relationship between shutter speed and movement in this article.

Moving Subject with a slow shutter speed makes the subject blurry.

Moving Subject with a high shutter speed makes the shot sharp.
ISO
ISO is one of the three elements of exposure. Having a higher ISO allows for more flexibility with aperture and shutter speed but adds noise to the image. A good general recommendation is to keep ISO as low as possible and to not go higher than 800. To get pin sharp images ISO should be at its base value (likely 50, 100, or 200). It is important to remember ISO is affected by sensor size. To learn how, read Everything You Need to Know About Sensor Sizes.
Focus
If focus is not correct, your image will be blurry. When using autofocus, the best way to get sharper focus is to choose the point of focus manually. On most cameras, this is done by touching where you want the focus to be on the LCD screen. If your camera doesn’t have a touch screen, check your camera manual to see how to change the focus point. Where should you place focus? For people, always focus on the eye of whoever is closest in the image. For landscapes, focus one third of the way up as a general rule.
This image is not focused properly and is left blurry.
Another way to get sharp focus is to go manual. In low light situations or when the subject is very close to the camera, autofocus can struggle. Manual is then the best option. On many cameras there is a setting called “Peaking” that can be turned on to help with manual focus. Peaking puts highlights on the area of focus when using manual focus.
Aperture
Some lenses (especially cheaper ones) fail to stay sharp at the extremes of their aperture. Try to stay away from having your aperture all the way open or closed.
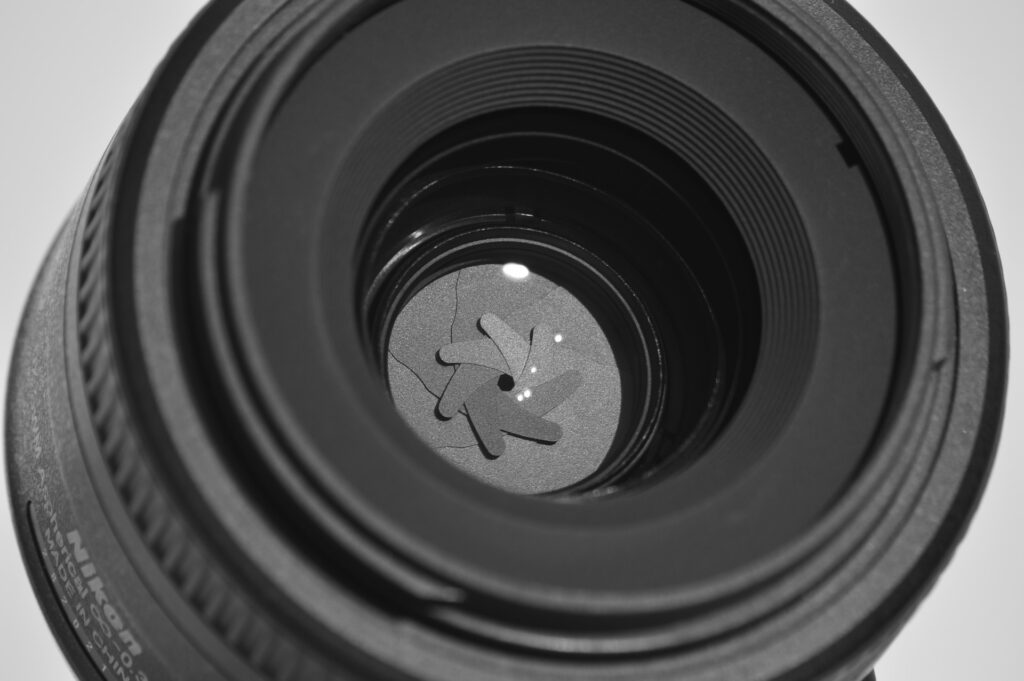
A mostly closed aperture.
Aperture affects depth of field (how much of the image is in focus) as well. At wider apertures (say f/4 and below) some or almost all of the image is likely to be out of focus. This may be desired, but the focus point of the image must be more carefully chosen.
To have all of the image in focus, try using an aperture of f/8 or greater. Be aware that at higher aperture numbers, less light is entering the camera. This means shutter speed and/or ISO will have to be adjusted to compensate.
Image Stabilization
Many mirrorless cameras have in-body image stabilization (vibration reduction on Nikon). This feature is less prominent in standard DSLRs. Many lenses also have image stabilization. Using this feature will improve or eliminate blur from camera shake. This is especially useful in low light scenarios where slower shutter speeds are necessary to get the correct exposure.
Note that image stabilization only reduces camera blur (blur from moving the camera while an image is being taken), not subject blur (blur due to a moving subject).
Lens Upgrade
I know, money. Ooof. Good lenses are expensive, but they really do make images sharper. The lens is more important than the body when it comes to sharpness. If you’re debating between buying a new body or a nice lens, buy the lens. The lens will work on a new camera body if you upgrade later.
When buying a new lens, a prime lens will usually give you more sharpness for your dollar than a zoom lens. They have simpler designs and are optimized for their particular focal length. Prime lenses also usually have wider apertures, making them better for achieving sharpness in low light conditions. Learn more about Zoom vs. Prime Lenses.
Clean Your Gear
Having dust and grime on your lens or sensor can cause noticeable blotches on your end image. It is important to do this correctly as mistakes could permanently damage your gear. Here’s how.
Lens and Lens filters
- Both these items are cleaned the same way. To clean your lens or lens filter, first use an air blower to remove as much dust and grime as possible.
- Then use a microfiber cloth to gently wipe the filter in a circular motion from the outer edge of the glass to the center.
- If this is insufficient, add lens cleaning fluid to the microfiber cloth and repeat. Do not put the cleaning fluid directly on the lens. It must go on the cloth.
Sensor
- To clean your sensor, start by removing your lens.
- Then, if you have a camera with a mirror, go into your settings and find lens cleaning. Choose manual lens cleaning. The mirror should flip up, exposing the sensor. If you have a mirrorless camera, this step is unnecessary.
- Flip the camera so that the sensor is facing the ground, then use an air blower to remove all dust.
- If further cleaning is required, take your camera to a professional as you could easily damage your sensor with other cleaning methods.
Add Light!
Camera sensors are hungry for light. Give it to them. Using speedlights, strobes, or continuous lights will provide added sharpness and clarity to your photos. Unfortunately, this strategy will not work for all type of photography. Try adding light to a whole landscape! Better leave that to the sun.
This works best in controlled or semi-controlled environments with medium to small subjects. If you think adding light to your shot might be possible, give it a try. It’s a potent way to increase sharpness and clarity.
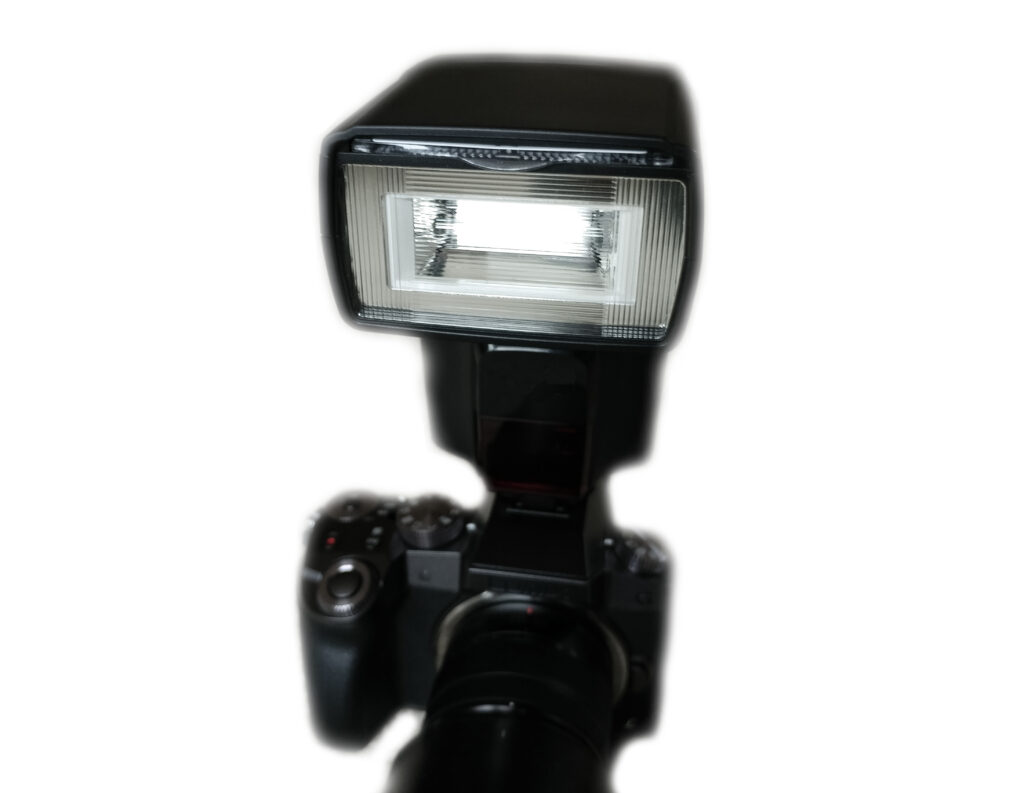
A camera with a speedlight attached.
Blend Exposures
In post processing software like Photoshop you can blend multiple exposures of the same image together to gain sharpness throughout the finished image. You’ll most likely need a tripod because the images need to be taken from the exact same place. Once your camera is on a tripod and your composition is set, take two or more exposures of your scene without moving the camera. You want each area of the image to have correct exposure in one of the pictures you took. To learn how I used exposure blending to get the sharp image below, read this article.

This is an exposure blended image. The sky from one image is blended with the building from a second. The result is a very sharp image with even exposure.
Sharpen Your Image with Software
Using the high pass sharpen tool in Photoshop or the sharpness tool in Lightroom can add sharpness to your photos. Something is not received for nothing though. These tools have downsides that you need to be aware of.
When sharpening an image, there is a trade off between sharpness and noise. The more sharpening you add, the more noise you add at the same time. When using the tool, try to find the point where desired sharpness is achieved, but noise is not too high.
Sharpen selectively. Don’t add sharpness to areas of your image that don’t need it like clouds, water, or out of focus areas. Some parts of your image are supposed to be soft, so adding sharpness can look off. And don’t forget that adding sharpness to areas that don’t need it also means adding unnecessary noise to your image. Keep your images as clean and sharp as possible. Sharpen selectively.
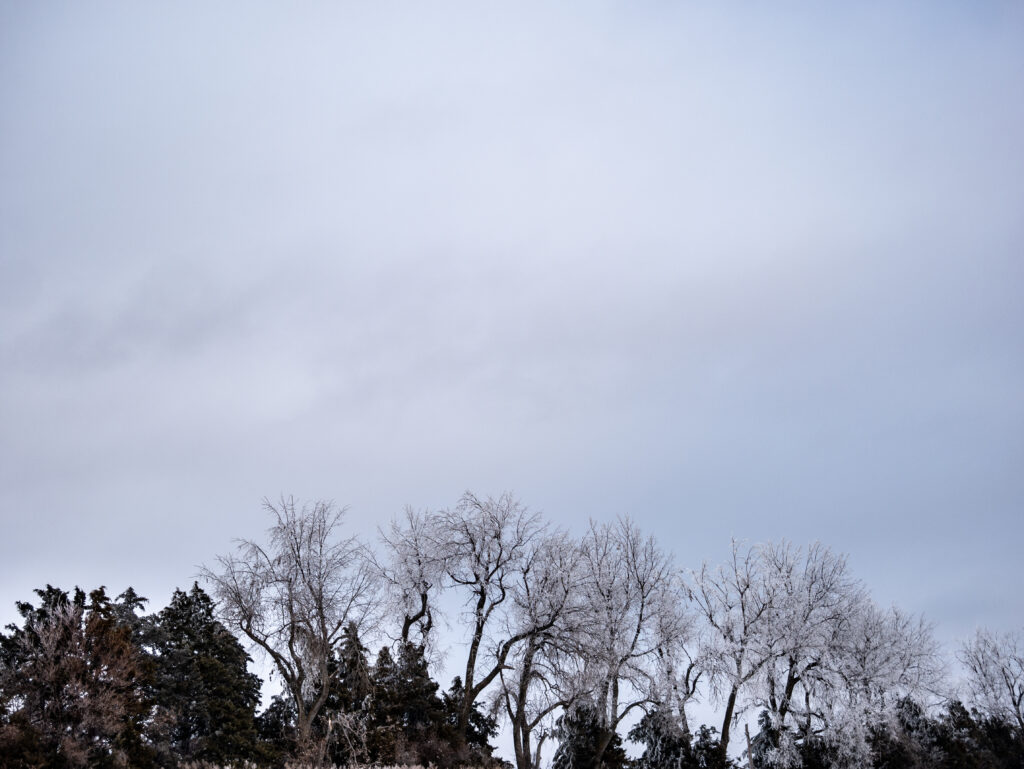
This image is mostly sky. It would be silly to sharpen the whole image as it would just add noise to the sky, with no upside. The best option is to selectively sharpen the trees.
I hope this helped!