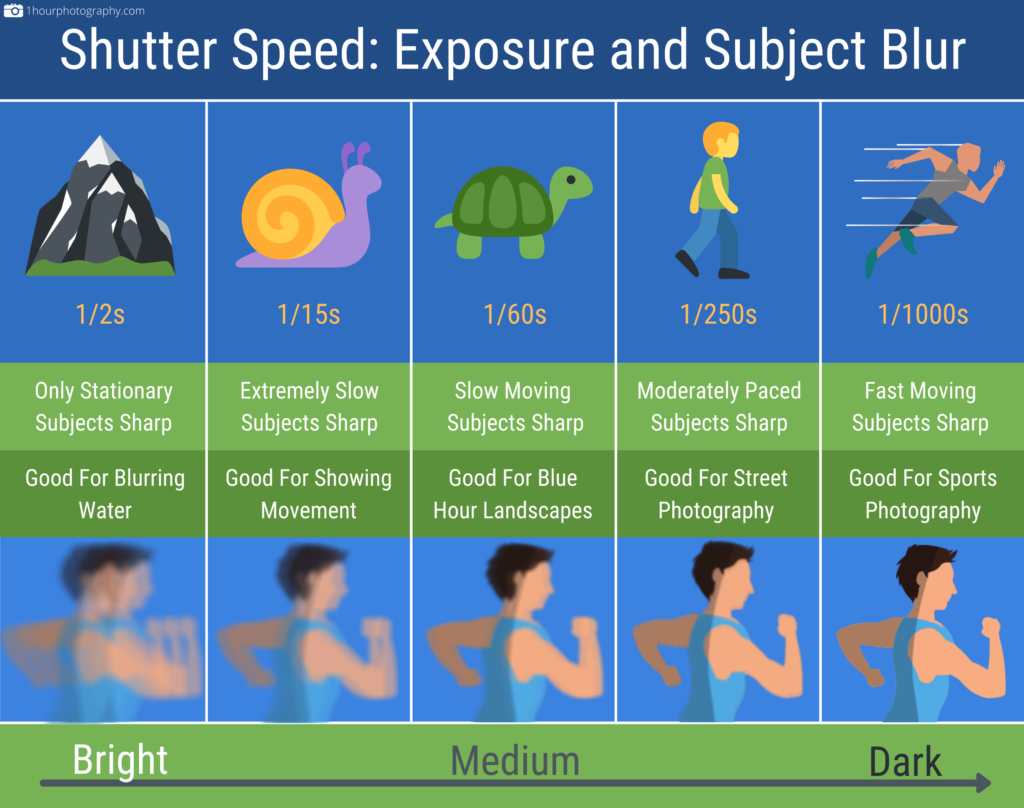
Shutter speed is one of the three parts of exposure. It controls two things: motion blur and how long your sensor is exposed to light. If you’re just looking for the highlights, check out the infographic below. Otherwise, let’s get started!
What is a Camera Shutter?
A shutter is an object that sits in front of your camera’s sensor and allows light to reach the sensor for a predetermined amount of time.
The amount of time the shutter is open when taking a picture is called shutter speed. Shutter speed is measured in seconds.
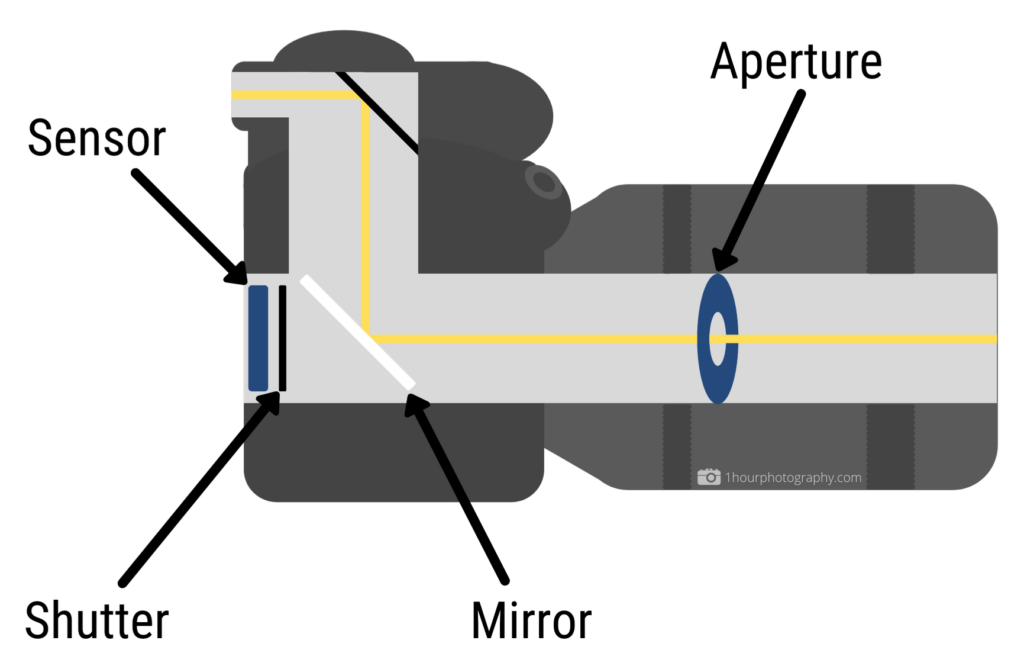
Check out the following diagram to see where the shutter lives in your camera. When you take a picture with a DSLR camera, the mirror flips up, the shutter flicks up and down for the amount of time you set, and the sensor encodes the light it receives into an image.
Shutter Speed and Exposure
Like I said at the beginning of this article, shutter speed controls two things. The first I’ll go over is exposure.
The longer your shutter speed is, the more light your sensor is exposed to and the brighter your image will be. The shorter your shutter speed is, the darker your image will be.
Slower Shutter Speed = Brighter Image
Faster Shutter Speed = Darker Image
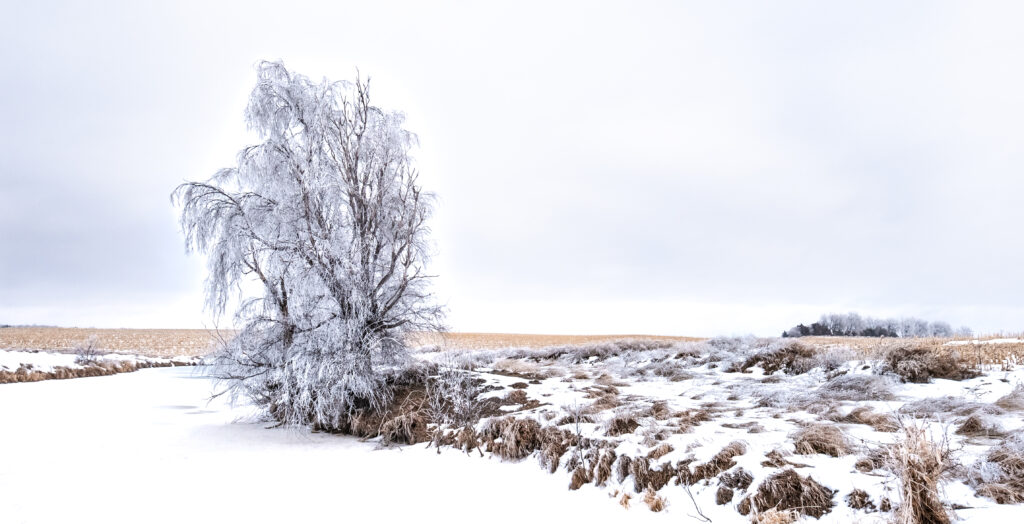
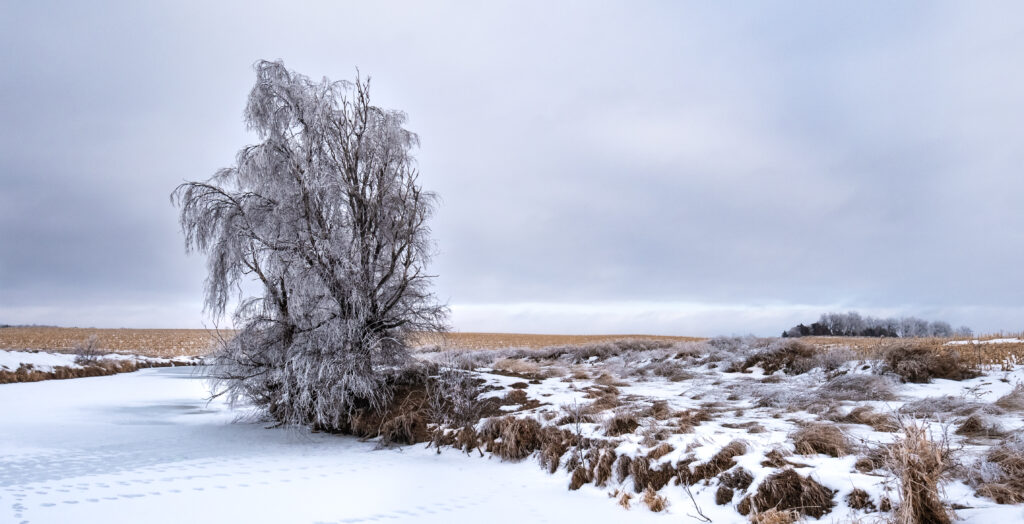
It’s important to understand the restrictions your lighting conditions put on shutter speed. If you take a picture with a shutter speed of 1/2000 of a second at night, your image will be pitch black, and conversely, if you take a picture with a 1 second shutter speed during the day, your image will be pure white.
Take a look at this example of picture taken outside at mid-day.
Shutter Speed Stops
Exposure settings are sometimes talked about in “stops” of light. A stop of light is a unit of measurement, like an inch or a pound. Increasing (speeding up) shutter speed by one stop means cutting the amount of light that reaches the sensor in half. Decreasing (slowing down) shutter speed by one stop means doubling the amount of light that hits your camera sensor (lower number = more light).
Going up or down a stop of light using shutter speed is simple. If you want one more stop of light, halve your current shutter speed. If you want one less stop of light, double your current shutter speed.
Most cameras change shutter speed in 1/3 stop increments by default. This means that it would take 3 dial movements to move from 1/125s to 1/250s (1 full stop). People sometimes talk about changing shutter speed settings in terms of “stopping” up or down. The meaning of this is simple.
Stopping up is slowing shutter speed by one full stop of light (Ex: Going from 1/250s to 1/125s).
Stopping down is speeding up shutter speed by one full stop of light (Ex: Going from 1/30s to 1/60s).
Shutter Speed and Motion Blur
The second thing shutter speed controls is motion blur. Motion blur is either when the subject is blurry due to movement, or the entire image is blurry due to the camera moving too much while taking the picture. The first type of motion blur is called subject blur. The second is called camera blur.
Subject Blur
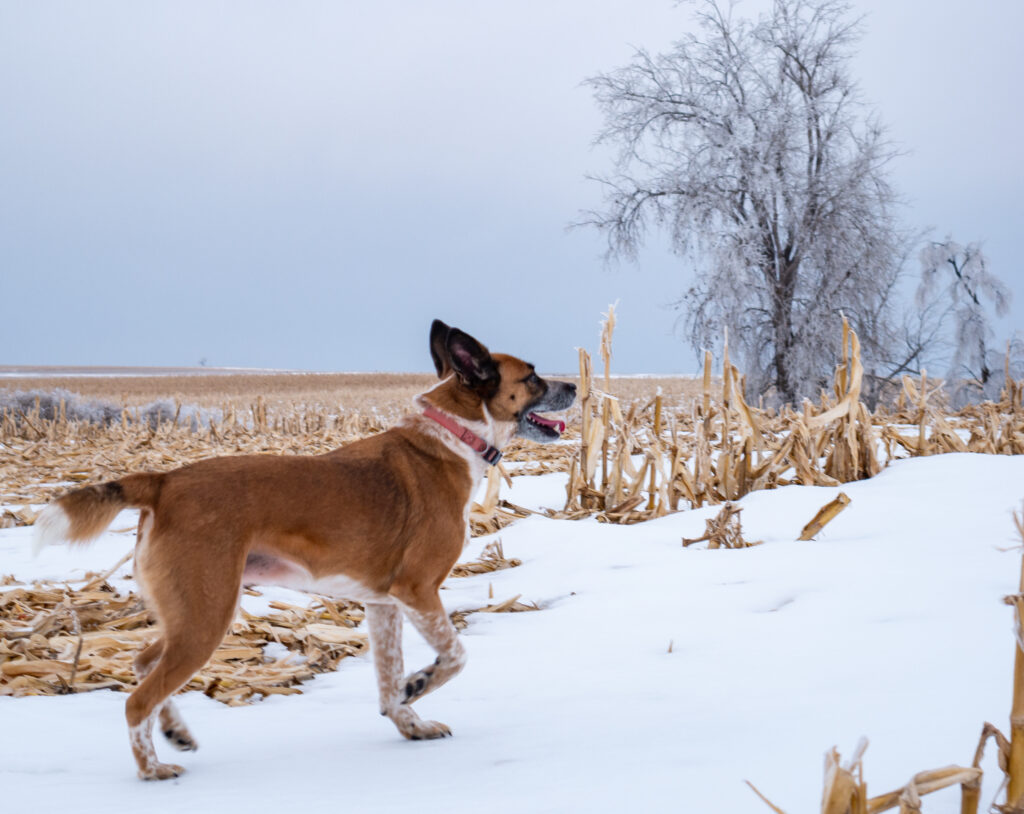
If you’re taking a picture of an athlete running on a track, you need a fast shutter speed to get a sharp image. If your shutter speed is too slow for the movement you’re trying to capture, your subject will end up blurry. When selecting a shutter speed, think about whether or not there’s movement in your scene.
The subject in the photo below is moving and the shutter speed is too slow to get a sharp image.
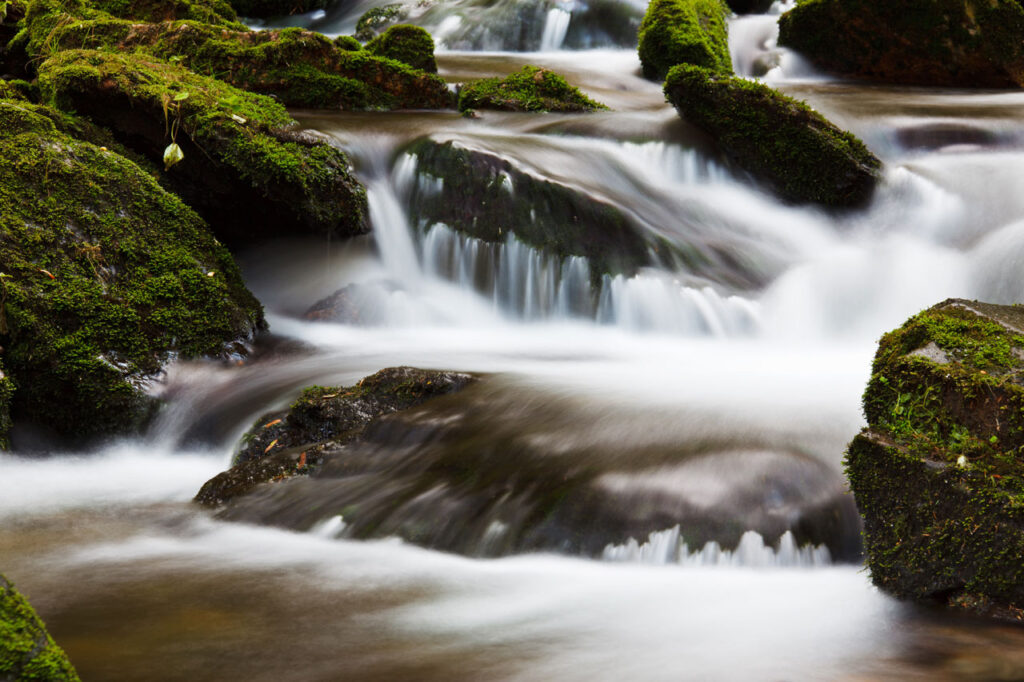
Sometimes subject blur is desired. These types of photos are called long exposure shots. Making moving water appear soft, painting with lights, capturing fireworks or lightning, and getting light trails from cars are popular uses for intentional subject blur.
Camera Blur
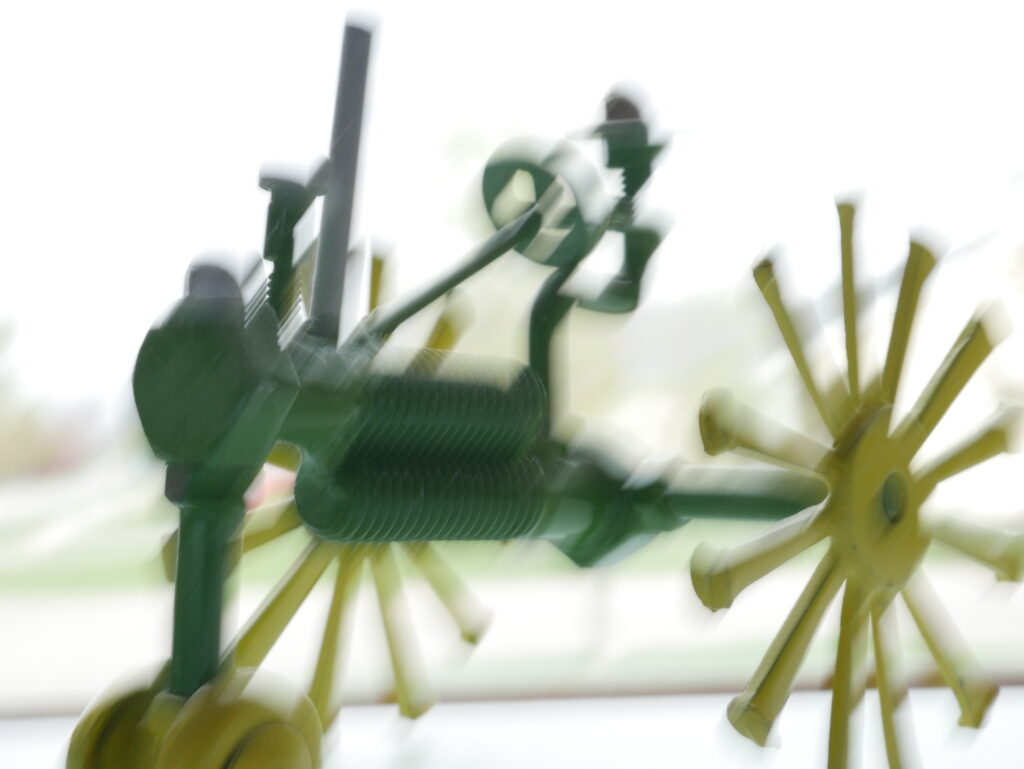
Camera blur usually occurs at longer shutter speeds when hand-holding your camera. Camera blur results in the entire image being blurry, which is almost never desirable.
It’s important to keep in mind that camera blur is worse when zoomed in. This means the farther you zoom in, the faster your shutter speed will need to be to get sharp images. The old rule of thumb was to have shutter speed be 1 divided by the focal length of your lens. That rule just doesn’t cut it anymore. As cameras pump up their megapixel count, even minor camera shake affects image sharpness. Now, a good rule is to have shutter speed be 1 divided by 2x the focal length of your lens. So, if you were shooting at 100mm, your shutter speed should be at least 1/200 of a second.
There are exceptions to the rule. If your camera has in body stabilization, you might be able to get away with a slower shutter speed. If you use a tripod and your subject is stationary, the rule does not apply at all. Any shutter speed will do.
Different cameras act differently and there are many different shooting situations. Rules work great at the beginning, but your goal should be to get comfortable with shutter speed and intuitively know what it should be set to in a given situation with your particular gear.
To learn more about how to combat camera blur, check out my article on taking sharper photos.
How to Set Shutter Speed
If you have a DSLR or Mirrorless camera, changing shutter speed is simple. Both types of cameras change shutter speed using one of the two main settings dials. These are the dials on your camera that don’t have any letters or symbols on them. These dials are on different spots on different cameras, so check your manual if you’re not sure.
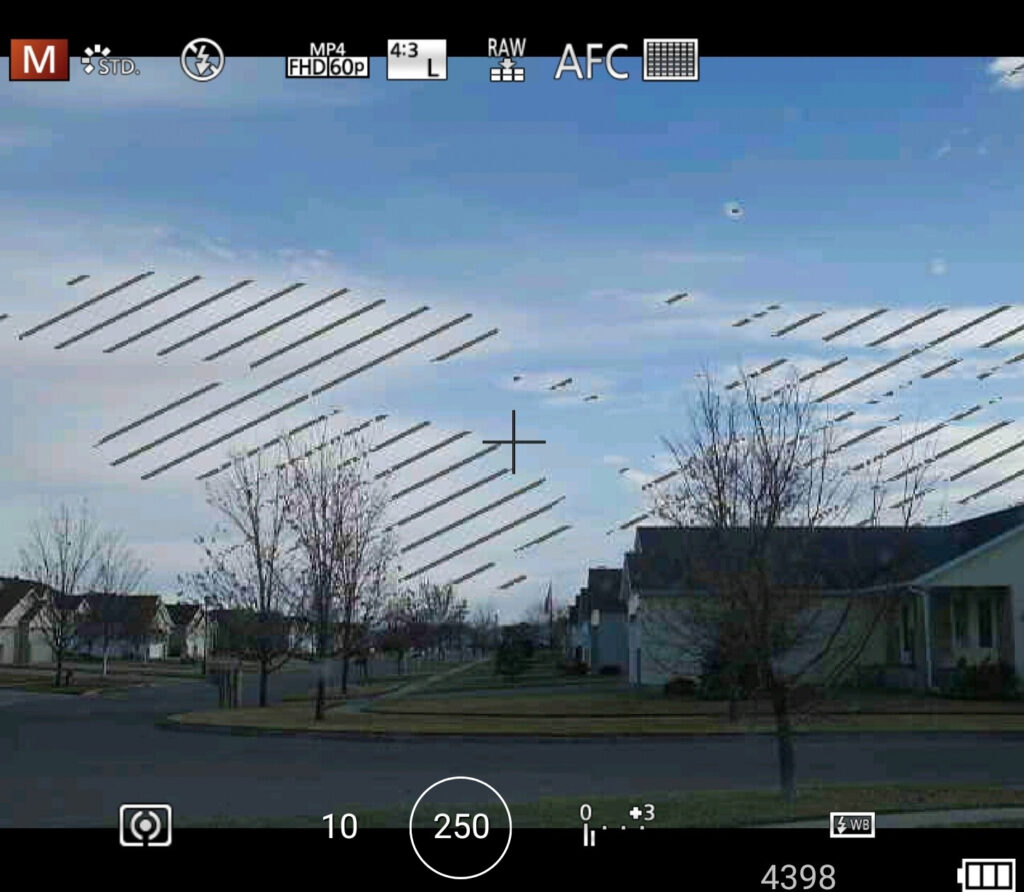
To see what your shutter speed is, you must look in one of three places depending on your camera. If you have a mirrorless camera, your shutter speed setting can be found on the back-LCD screen. It likely will not be shown as a fraction, so 1/250 of a second will show up as just 250. Shutter speeds of a second or more will show up with this (“) symbol after the number.
If you have a higher end DSLR camera, shutter speed can be found on your top LCD screen. The following image shows where the setting is found on Canon’s 6D Mark II. Like with mirrorless cameras, shutter speed shows up as the number itself and not a fraction.
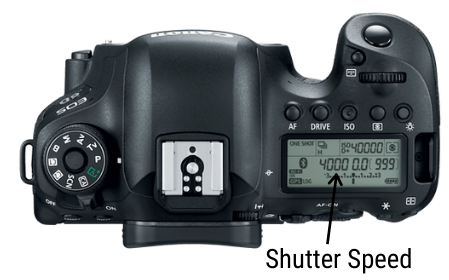
On entry level DSLR cameras, shutter speed can be found in the viewfinder on the back of the camera. The layout will be like that of a mirrorless camera’s back-LCD screen.
Easiest Way to Learn Shutter Speed
If you’re not comfortable with shutter speed, and the thought of handling shutter speed, aperture, ISO, and composition seems daunting, there’s an easy solution. Shutter speed priority mode.
Simply flip your camera’s main mode dial (the biggest one with the letters and symbols) to either “S” or “Tv” depending on camera brand. This camera mode lets you change shutter speed but handles the other settings automatically. This is a great way to get used to the effects of shutter speed on motion blur. Try this mode if you’re struggling to understand shutter speed or it’s the only setting that matters for your shot.
What about Electronic Shutters?
Most cameras have real, physical shutters that move. But that doesn’t mean electronic shutters are relegated to the realm of smartphones. Some cameras also have electronic shutters. Why? Electronic shutters can fire much faster than physical shutters because they are electrical signals telling the sensor when to record light, and not physical objects that really need to move. If you need an extremely fast shutter speed, cameras with electronic shutters are the way to go.
Why aren’t all shutters electronic? Electronic shutters have downsides. They reduce image quality by introducing noise or graininess.
Conclusion
When you get right down to it, shutter speed isn’t that hard. Just remember it controls how bright or dark your image will be, and motion blur. This is a setting that is easy to understand but takes practice to master. That means it’s time to put into practice what you just learned. Get out there and take some pictures!
