Golden hour is a magical time for photography. Golden light runs through the air in beautiful beams. The question is, how do you make the most of it?
What is Golden Hour?
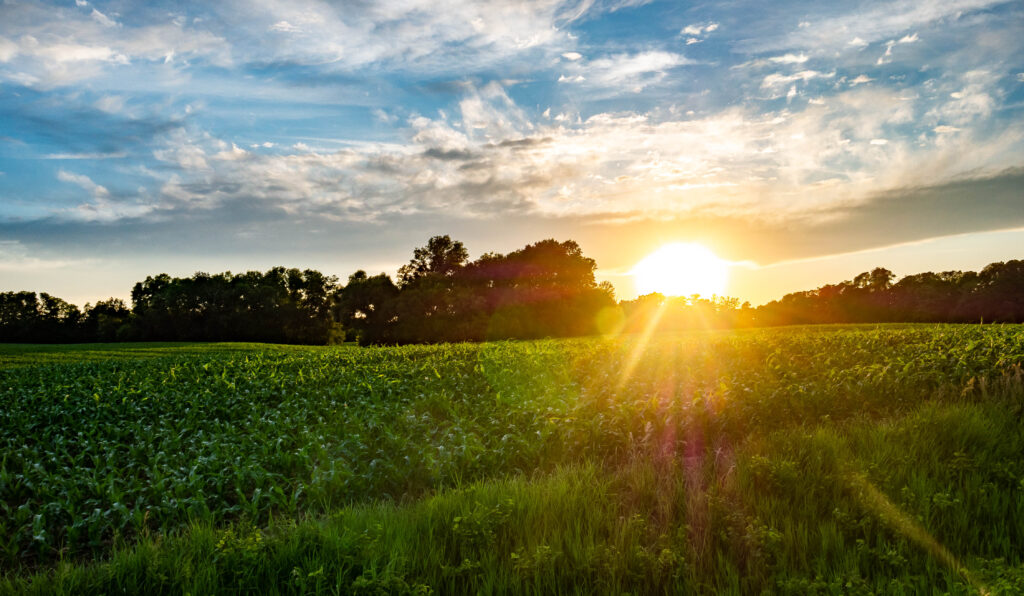
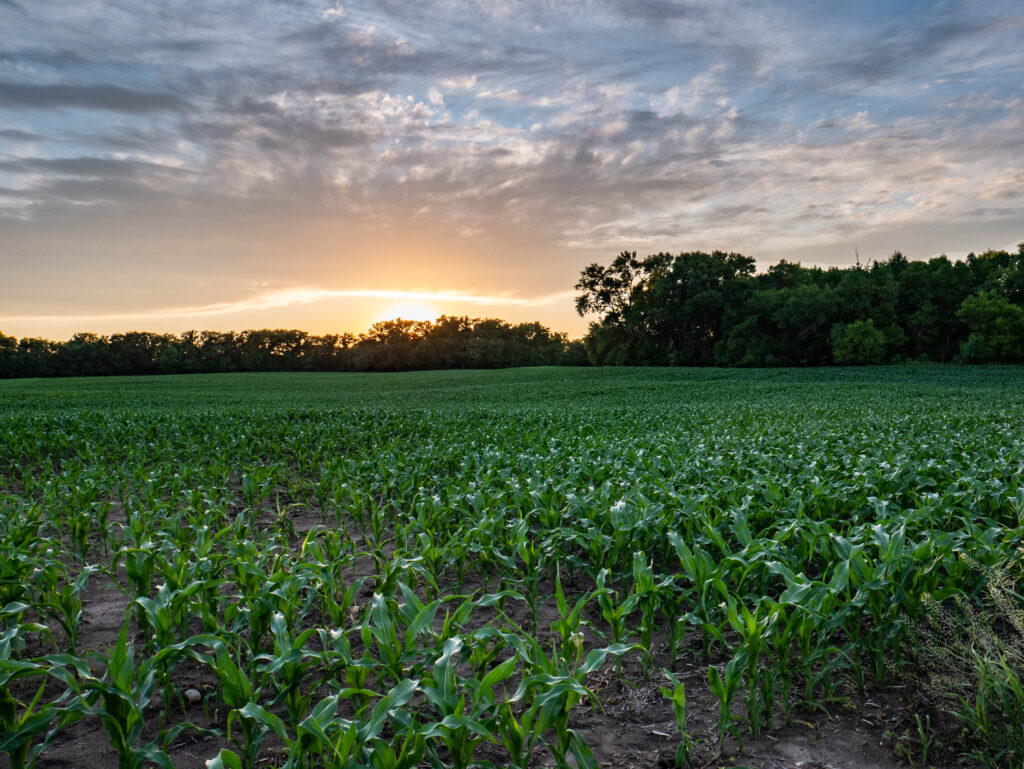
In photography, golden hour is the period of time after sunrise or before sunset when sunlight is naturally softer and warmer. The naturally soft, warm light creates a great opportunity for pleasing photographs. Light at this time is also directional, allowing for techniques like backlighting.
It’s called golden hour because of the warm, often gold-colored light that happens only during this time. The golden color is caused by the angle of the light from the sun. During golden hour, sunlight has to travel through much more atmosphere, which scatters away higher wavelength blue light. This leaves only warm, soft light.
There are three lighting characteristics that make golden hour so useful to photographers. They are:
Warm: The golden glow of the light during golden hour gives viewers of photographs taken at that time a calming, good feeling.
Soft: Soft light is caused by scattering light. This happens during golden hour and is considered more flattering to subjects in portraits and more pleasing when looking at landscapes. The more gradual transition between light and shadow is pleasing for any subject.
Directional: At midday, everything is bright, and shadows are harsh and highly compressed. During golden hour, sunlight comes in at a much shallower angle, which makes for softer, elongated shadows. This also allows for more control over lighting your subject. A simple turn can be the difference between backlighting and front lighting.
Learning to use these characteristics to your advantage will lead to amazing photographs.
When Does Golden Hour Usually Happen?
To find out when golden hour will happen where (and when😊) you are, there are apps and websites that let you know when to start shooting. Jekophoto is a website that has a great tool for finding out when golden and blue hour will be, the direction of the sun, and the duration.
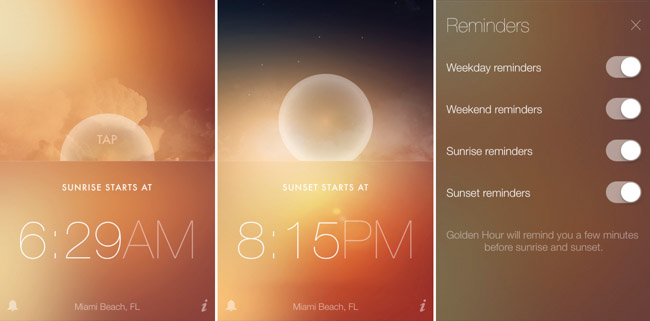
If you have an iPhone, Golden Hour is a great app. It’s minimal, easy to use, beautiful, and tells you everything you need to know.
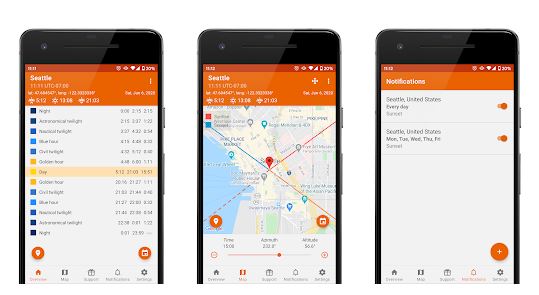
If you’re an android user, there’s an app for you too. It’s also called Golden Hour and is highly functional and data rich. Both apps are free.
How Long Does Golden Hour Last?
Golden hour doesn’t always last the same amount of time. If you’re close to the equator, it might only last 40 minutes. Or if you’re near the North or South Pole, it could last hours in the summer. If it’s overcast, it won’t happen at all. It all depends on weather conditions.
Sunrise vs Sunset
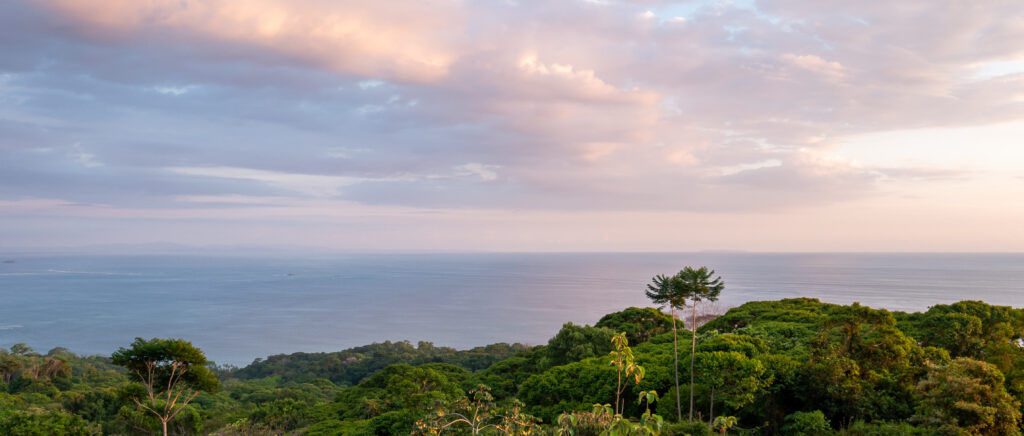
Golden hour happens at both sunrise and sunset, but they aren’t the same. At sunrise, there is a clarity and brightness to the light that doesn’t happen at sunset. At sunset, there is softer light and more vibrant colors.
Why? At sunset there is more particulate matter in the air to diffuse the light. This makes is softer, warmer, and slightly darker. It’s also why sunsets are more colorful.
People often prefer pictures taken at sunset over those taken at sunrise because of these factors. There are other factors to consider, though. The sun is in different places at sunrise and sunset. This simple fact may force you to shoot at a specific golden hour if your subject is stationary.
Photos taken at sunrise can also appear sharper because there is less particulate matter in the air. There is often less haze in the morning as well, especially in more populated areas.
Exposure and Golden Hour
As I said earlier, the light during golden hour is directional. This means you may find yourself shooting directly into the sun. How do you expose for such intense dynamic range? You can do this by compositing or exposure blending two or more exposures in Photoshop, by using graduated neutral density filters, or by creating an HDR image.
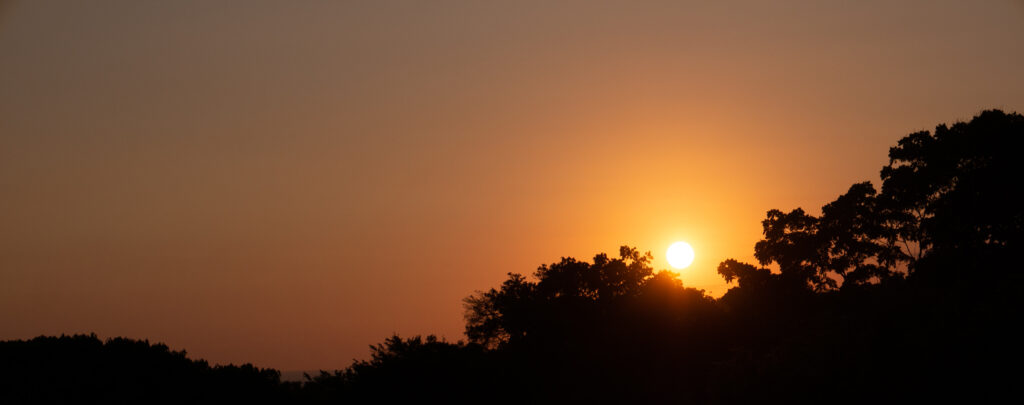
You can also expose for just the sun. This makes for neat silhouette effects. These can be striking and interesting.
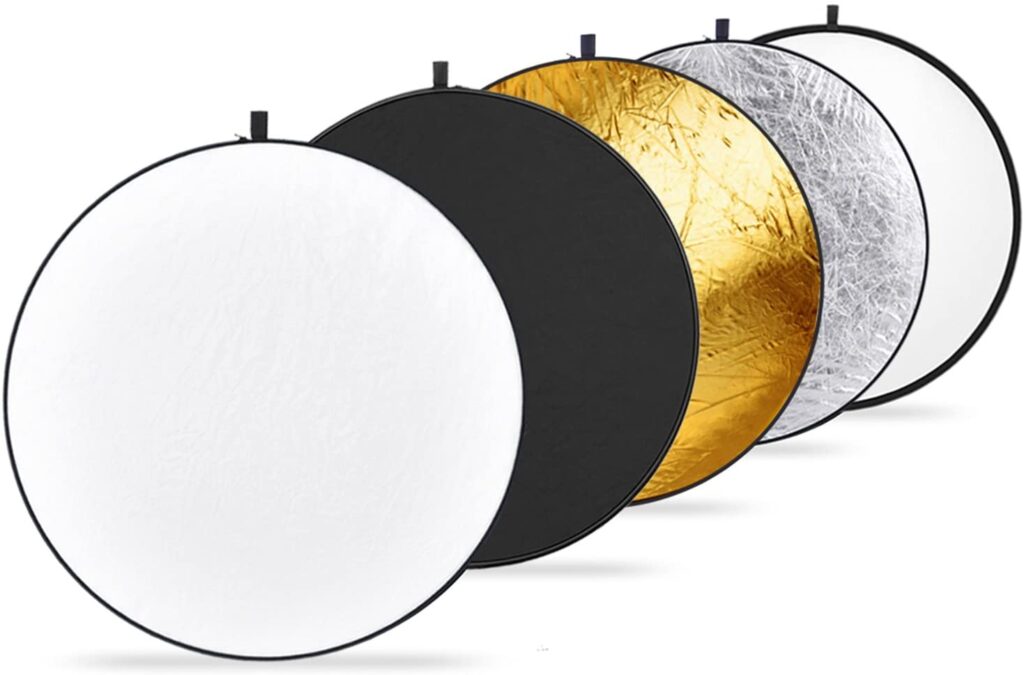
Another way to even out exposure when photographing a single subject is by using a reflector. Reflectors are large mirrorlike disks used to reflect light onto a subject. These are great because they maintain the color temperature, softness, and intensity of the light. This makes the scene appear more natural.
I use the Neewer 43in reflector/diffuser kit. I love these because of its large size, versatility, and price. I also like how well it collapses for portability.
How to Tell If There Will Be A Good Sunset
If you’re looking for the perfect sunset photo, how do you know if today is the day? There are several factors that lead to stunning sunsets. You can look for these factors before you decide to go shooting.
The National Oceanic and Atmospheric Administration (NOAA) has a great publication on the atmospheric conditions that lead to colorful sunsets. I recommend reading it. If you’re just looking for the highlights though, no worries. Here they are.
The four main factors that cause good sunsets are:
- Clean Air
- Time of Year (late fall and winter are best)
- Location
- Mid to High Level Clouds
Clean Air
It is often said that particles in the air cause the vibrant colors of sunsets. This is only partially true. Higher atmosphere particulate matter like that caused by a volcanic eruption can make more colorful sunsets, but lower atmosphere particles like those caused by pollution in large cities actually subdue sunset colors. Clean air is the main factor in creating vibrant sunsets.
Time of Year
According to the NOAA, “Air circulation is more sluggish during the summer, and because the photochemical reactions which result in the formation of smog and haze proceed most rapidly at that time of the year, late fall and winter are the most favored times for sunrise and sunset viewing over most of the United States.”
Location
Clean air is the greatest factor in great sunsets. Air quality is location dependent. Where you are matters. According to the NOAA, “Pollution climatology also largely explains why the deserts and tropics are noted for their twilight hues: air pollution in these regions is, by comparison, minimal.” Get out of the city, and into clean air.
Mid to High Level Clouds
According to the NOAA, “To produce vivid sunset colors, a cloud must be high enough to intercept “unadulterated” sunlight…i.e., light that has not suffered attenuation and/or color loss by passing through the atmospheric boundary layer.”
Try Backlit Photography
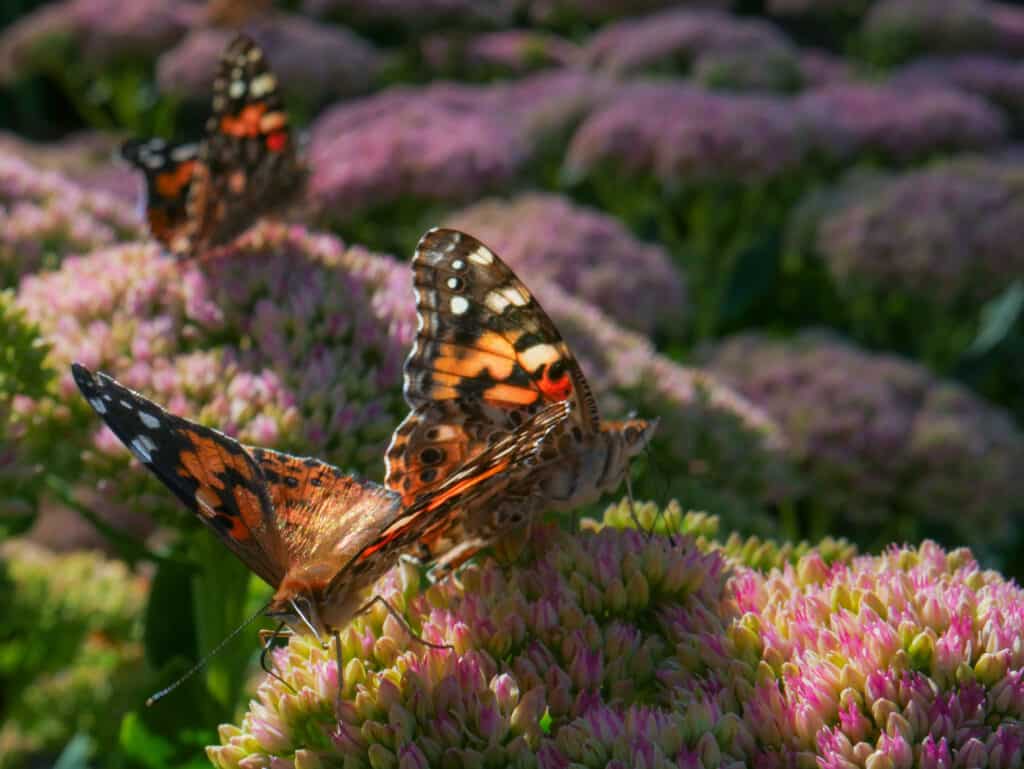
Backlit photography can look amazing and golden hour is the perfect time to do it. The soft, warm light and elongated shadows make for stunning backlit shots. Thin materials such as butterfly wings, fabric, and flower petals allow some of the light to shine through, making them glow. You won’t be disappointed if you try this out.
Keep Shooting
Keep shooting until the light is gone. Once golden hour hits get out there and start shooting. Don’t stop until the light is gone. The color, intensity, softness, and direction of the light all change continuously throughout golden hour. You never know when it will be perfect and what interesting things it might do.
You might like when the sun is still fully above the horizon line and it’s fairly bright, or you might prefer when it’s almost entirely gone. Each day is different too, so don’t feel like you know the perfect time after going out once.
Keep shooting throughout golden hour.
Shoot in RAW
There can be huge changes in the amount of light between different parts of your image when shooting at golden hour. You may find that part of your image is either under or overexposed after taking it. That’s why you should shoot in RAW. When editing your photos, the RAW image format allows much more flexibility in retrieving highlights and shadows, keeps more detail, and allows greater ability to change color temperature.
Conclusion
There are three characteristics of the light at golden hour that make for excellent photography: color temperature, softness, and direction. Use these aspects to your advantage and stay out there taking photos until the light is gone. You never know when you’ll find the perfect shot!